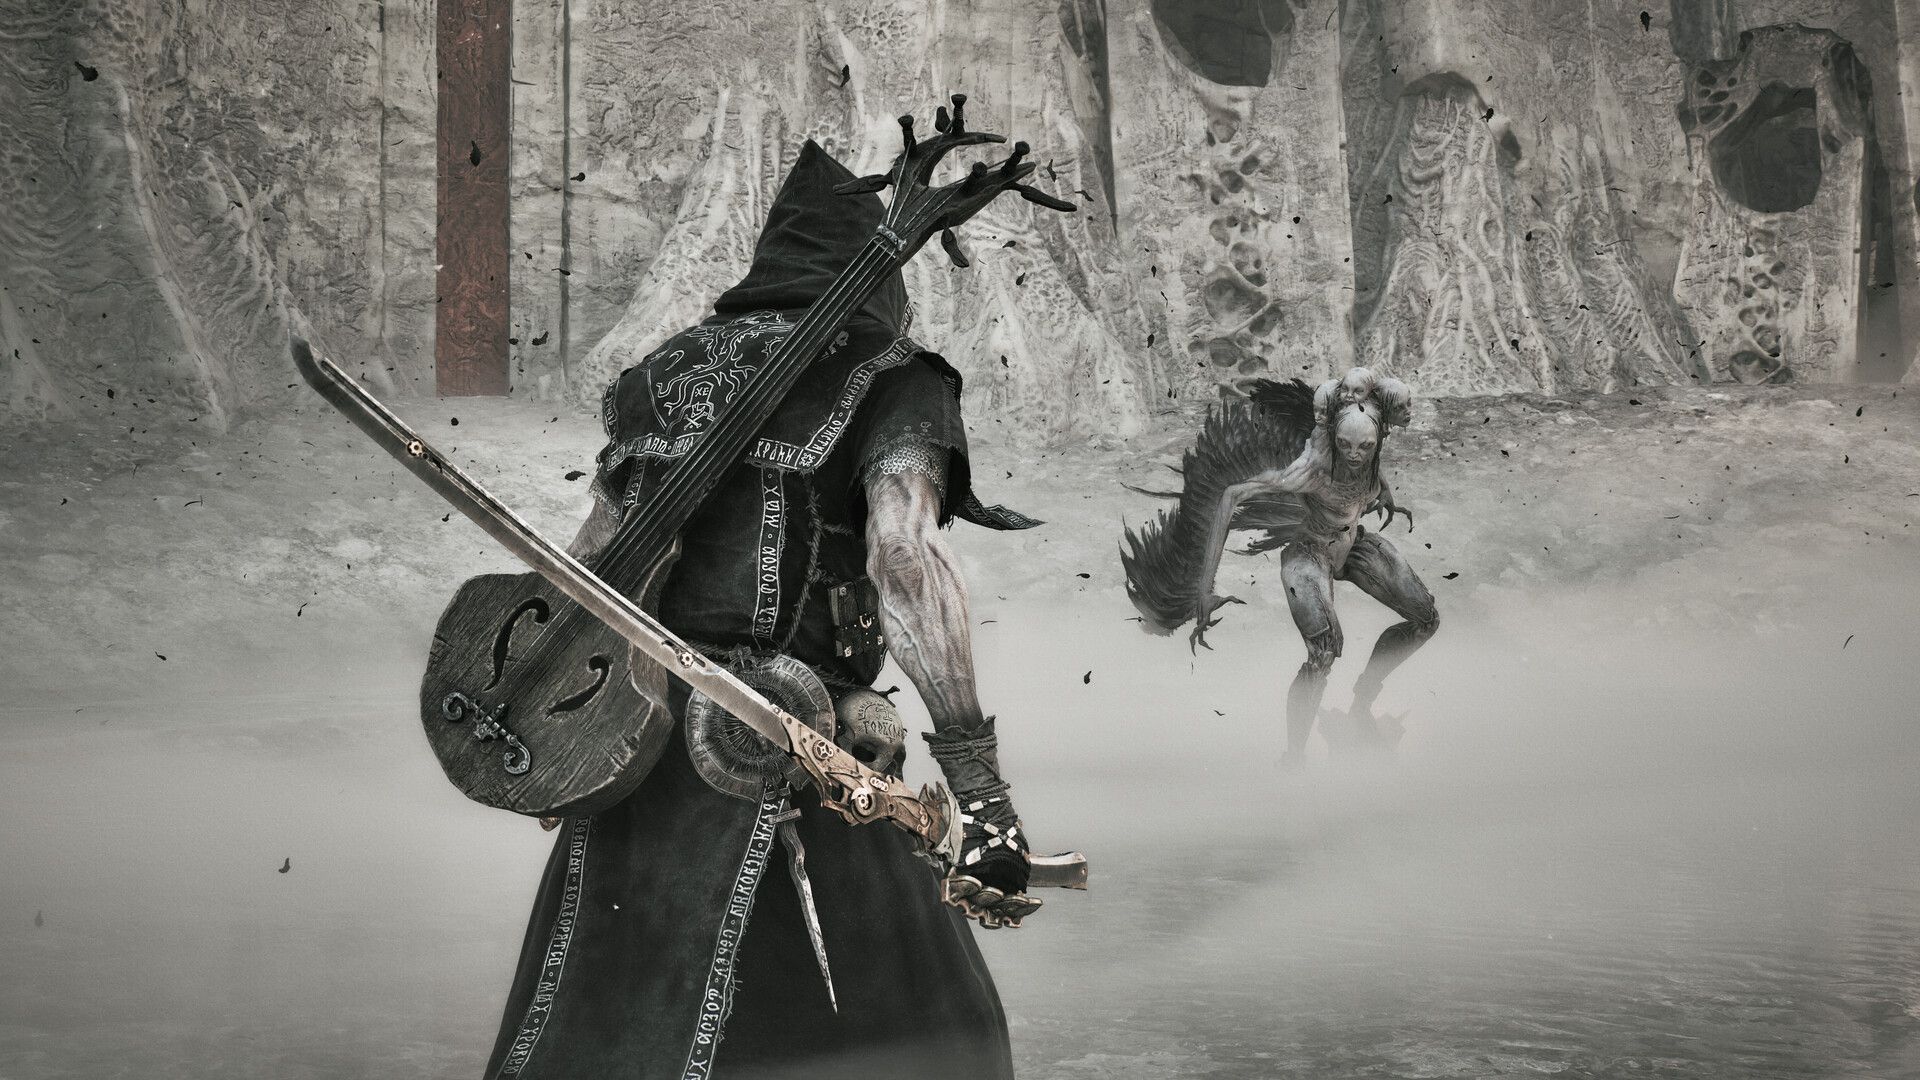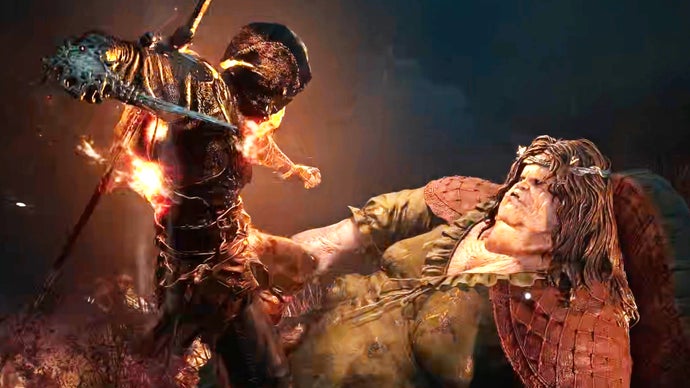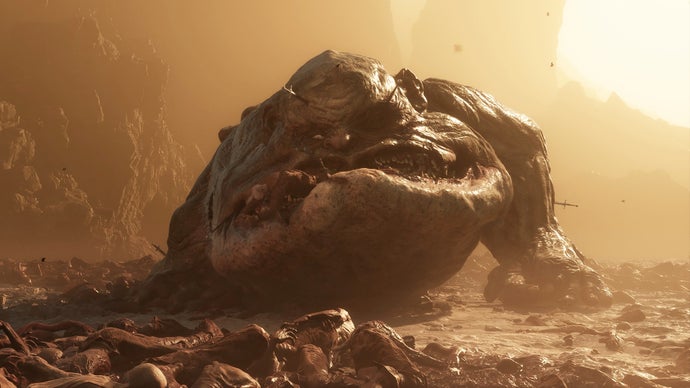
All bosses in Mortal Shell 2
Overview & Key Takeaways
Mortal Shell 2 features a host of viciously creative bosses, many of whom sport nausea-inducing appendages sticking out from the wrong places and screen-filling attacks designed to tear your Harbinger to shreds. And while there are technically only a handful of main bosses that guard the Corrupted Gates that must be cleansed to advance the story, plenty of minibosses stand between you and the Ovum of the UnderMether.
In this guide, we're covering each of these grotesque opponents. This is our comprehensive list of all bosses in Mortal Shell 2, from the Tar Golem that wrecks your best buddy Harros at the start of the game, to the H. R. Giger-inspired Hexapod that Proxima is hunting. Suit up in your favourite Shell, sharpen your blade of choice, and get the Naylshotte ready to blast some skulls!
Mortal Shell 2 features a host of viciously creative bosses, many of whom sport nausea-inducing appendages sticking out from the wrong places and screen-filling attacks designed to tear your Harbinger to shreds. And while there are technically only a handful of main bosses that guard the Corrupted Gates that must be cleansed to advance the story, plenty of minibosses stand between you and the Ovum of the UnderMether.
In this guide, we're covering each of these grotesque opponents. This is our comprehensive list of all bosses in Mortal Shell 2, from the Tar Golem that wrecks your best buddy Harros at the start of the game, to the H. R. Giger-inspired Hexapod that Proxima is hunting. Suit up in your favourite Shell, sharpen your blade of choice, and get the Naylshotte ready to blast some skulls!
To see this content please enable targeting cookies.
Manage cookie settings
All bosses in Mortal Shell 2
Use our handy checklist below to mark off each boss as you beat them.
- Gloombound Ritualist
- Tainted Vestige
- Tar Golem
- Great Arbiter of Flesh
- Vrannic, the Grand Illusionist
- Circle of the Grasping Root
- The Wandering Shepherd
- Magdalena, the Lady of the Woods
- Broodshell Swarm
- Grisha
- Lucian, the Thirsting Knight
- Tarblighted Stoner
- The Lost Child
This list is a work in progress. Stay tuned - we'll be adding more bosses shortly!

Follow our walkthrough for tips on reaching and beating each boss An extra tip from Jeremy
If you aren't following it already, bookmark our Mortal Shell 2 walkthrough, which is packed to the brim with Ollie's strategies for how to locate all bosses, as well as the most efficient way through the game. I'll detail the closest Beacon and the general location for each boss below, as well as how to defeat them, but our hyper-detailed walkthrough is your best bet if you need more intel.
1. Gloombound Ritualist

Be careful of the minions here; their erratic movements and explosions are more dangerous than the Gloombound Ritualist. | Image credit: Rock Paper Shotgun/Playstack
- Closest Beacon: Village Outskirts Beacon
- Location: The Gloombound Ritualist is impossible to miss, as it's the first boss faced during the Prologue. Keep moving beyond the bridges and cliff walls that extend from the Village Outskirts Beacon, and you'll eventually find a boss arena that you can drop down into.
While not a terribly hard starting boss, the Gloombound Ritualist calls forth minions who will explode in bloody bursts. Dodge out of the way as soon as they move towards you, or else you'll suffer massive damage with each hit. Once the Gloombound Ritualist takes a break from this summoning, get in close and whack away. This is a good chance to practise your Perfect Guards and Harros' Stone Stun; a few Naylshotte shots will also do the trick.
Mark boss as defeated.
2. Tainted Vestige

Don't worry, you'll soon be destroying Tainted Vestiges left and right once they become normal enemies, which are called Tarred Vestiges. | Image credit: Rock Paper Shotgun/Playstack
- Closest Beacon: Disciple's Grotto Beacon
- Location: From the Disciple's Grotto Beacon, turn to your left and you'll spot an exit that leads out from the cave into a grove with the Tainted Vestige.
The Tainted Vestige is a much heftier enemy than the Gloombound Ritualist, and is a challenge during this early part of Mortal Shell 2. It typically starts the fight by burrowing its arms into the earth and shooting two sets of underground spikes at you, so be ready to dodge. All of its melee attacks are easy, well-telegraphed fodder for Perfect Guards, but watch out for its unblockable grab. If it catches you, it'll stuff you into its maw and chomp you to bits.
Mark boss as defeated.
3. Tar Golem

If you want to repeat this fight for achievement purposes, you'll need to Alt + F4 right before the Tar Golem kills you. | Image credit: Rock Paper Shotgun/Playstack
- Closest Beacon: Disciple's Grotto Beacon
- Location: Go down the slope from the Disciple's Grotto Beacon, and a huge armoured foe will attack you. He's aggressive but beatable as long as you guard well; once he's dead, use the air current nearby to hop to an upward platform. Follow this path until you run into Ruk again and a massive Bone Gate, which leads to the boss room.
The Tar Golem is one tough opponent fitting for the end of the Prologue. But guess what - this is one of those Soulslike bosses that you aren't technically supposed to beat. You will get an achievement if you manage to deplete the Tar Golem's health bar though, so it's worth a try.
Focus on dodging to the Golem's side and getting several hits in whenever it sticks its axes in the ground and comes at you. You cannot guard its blows whenever it raises both axes into the air or jumps. You can, however, guard any attacks that the Tar Golem makes with a single axe, along with its occasional kick.
Whether you win or lose the fight, the outcome is the same - a cutscene will play, and your valiant Shell comrade Harros will give up his quasi-living state so that you can keep moving forward. What a bro.
Mark boss as defeated.
4. Great Arbiter of Flesh

The Great Arbiter of Flesh has a nasty grab that will make short work of your Shell. And it's unblockable - you can see by the screenshot here, Tiel's hardened condition is doing nothing. | Image credit: Rock Paper Shotgun/Playstack
- Closest Beacon: Widow's Overlook Beacon
- Location: Turn south of the Widow's Overlook Beacon and travel down the slope in the direction of Mushroom Village to the east. The Great Arbiter of Flesh is meandering around a dirt clearing.
If you haven't unlocked either Tiel or Proxima as your starting Shell, the Great Arbiter of Flesh will be very challenging. Even with a Shell, he's still no joke, but he does serve as an excellent test for learning how to time your parries, guards, or hardens.
Be aware of his feint, where he appears to strike in one direction, and then suddenly twists and hits from the other way. His grab is also a nasty unblockable attack where he'll capture your Shell by the throat, toss you into the air, and impale you on his blade.
Mark boss as defeated.
5. Vrannic, the Grand Illusionist

Vrannic's a pest when he starts summoning copies. Dispatching them and avoiding projectiles will be your biggest worries in this battle. | Image credit: Rock Paper Shotgun/Playstack
- Closest Beacon: Mushroom Village Gate Beacon
- Location: Vrannic is the boss of the Hall of Illusions, a tricky dungeon that's unlocked after you choose to Cleanse the Mushroom Village Gate Beacon. Check out our walkthrough for tips on reaching him.
Vrannic is not particularly taxing at first, as long as you dodge his projectiles and avoid his unblockable staff strike. Halfway through the fight, however, he vanishes and starts creating copies of himself, and projectiles are likely to fill your screen as they all fire at you. This gets awfully chaotic, but each copy goes down with a single hit, so kill them as quickly as possible, preferably with melee strikes.
Once all the copies are dead, regular Vrannic reappears. If you managed to destroy all of his doppelgangers with melee attacks, you should have enough Resolve to blast him apart with your sidearm, which is how I ended the fight.
Mark boss as defeated.
6. Circle of the Grasping Root

Not a hard boss, especially if you've got Tiel or the Lute. Make these frog folk fight amongst themselves! | Image credit: Rock Paper Shotgun/Playstack
- Closest Beacon: Sleeping Mire Beacon
- Location: The Sleeping Mire Beacon is found within the Sunken Village, which can be accessed after going through the Corrupted Gate in eastern Mushroom Village. If you choose to Cleanse this Beacon, you'll be taken to Rootwater Hollow, a small, swampy arena that leads directly to this fight.
The Circle of the Grasping Root is composed of one large Frog Mama and three poison-tossing cultists, so it's basically just a fight against a small mob. If you're rocking a poison-focused build as Tiel, this fight will be a walk in the park, considering that our bone-faced Thief friend can heal from poison damage if you invest in the right skill points. You can also use the Troubadour's Lute to have the cultists all fight each other for you, which is great fun.
Mark boss as defeated.
7. The Wandering Shepherd

What an amusing battle. Looks like lamb's on the menu tonight! | Image credit: Rock Paper Shotgun/Playstack
- Closest Beacon: Sunken Village Beacon
- Location: Continue past the Sunken Village Beacon across the bridge, which leads to a fenced enclosure. There are several sheep grazing here, and you'll hear the Wandering Shepherd playing his panpipes.
Run up to the Wandering Shepherd and slice at him immediately. After getting in a hit or two, he'll teleport away, and all of the sheep turn evil! From here on out, it's a war of attrition as you chase after the infuriatingly fast Shepherd, all while dealing with lumbering devil sheep.
If you obtained the Sheephead Totem from the Grisha Pup in Mushroom Village, you may have some idea of how sheep attack in this game. Their moves can be parried, and if you manage to get perfect timing, your Shell will hilariously grab 'em by the hooves and gut 'em. They have a surprising amount of health, however, so try to focus your attacks on the Shepherd.
Once the Shepherd's health is halfway gone, he turns into the Satan-esque Tarblighted Shepherd and will transform you into a sheep as well. Once again, if you picked up the Sheephead Totem, you may be familiar with this form. You can still beat the crap out of him as a sheep until you turn back to your true self.
Mark boss as defeated.
8. Magdalena, the Lady of the Woods
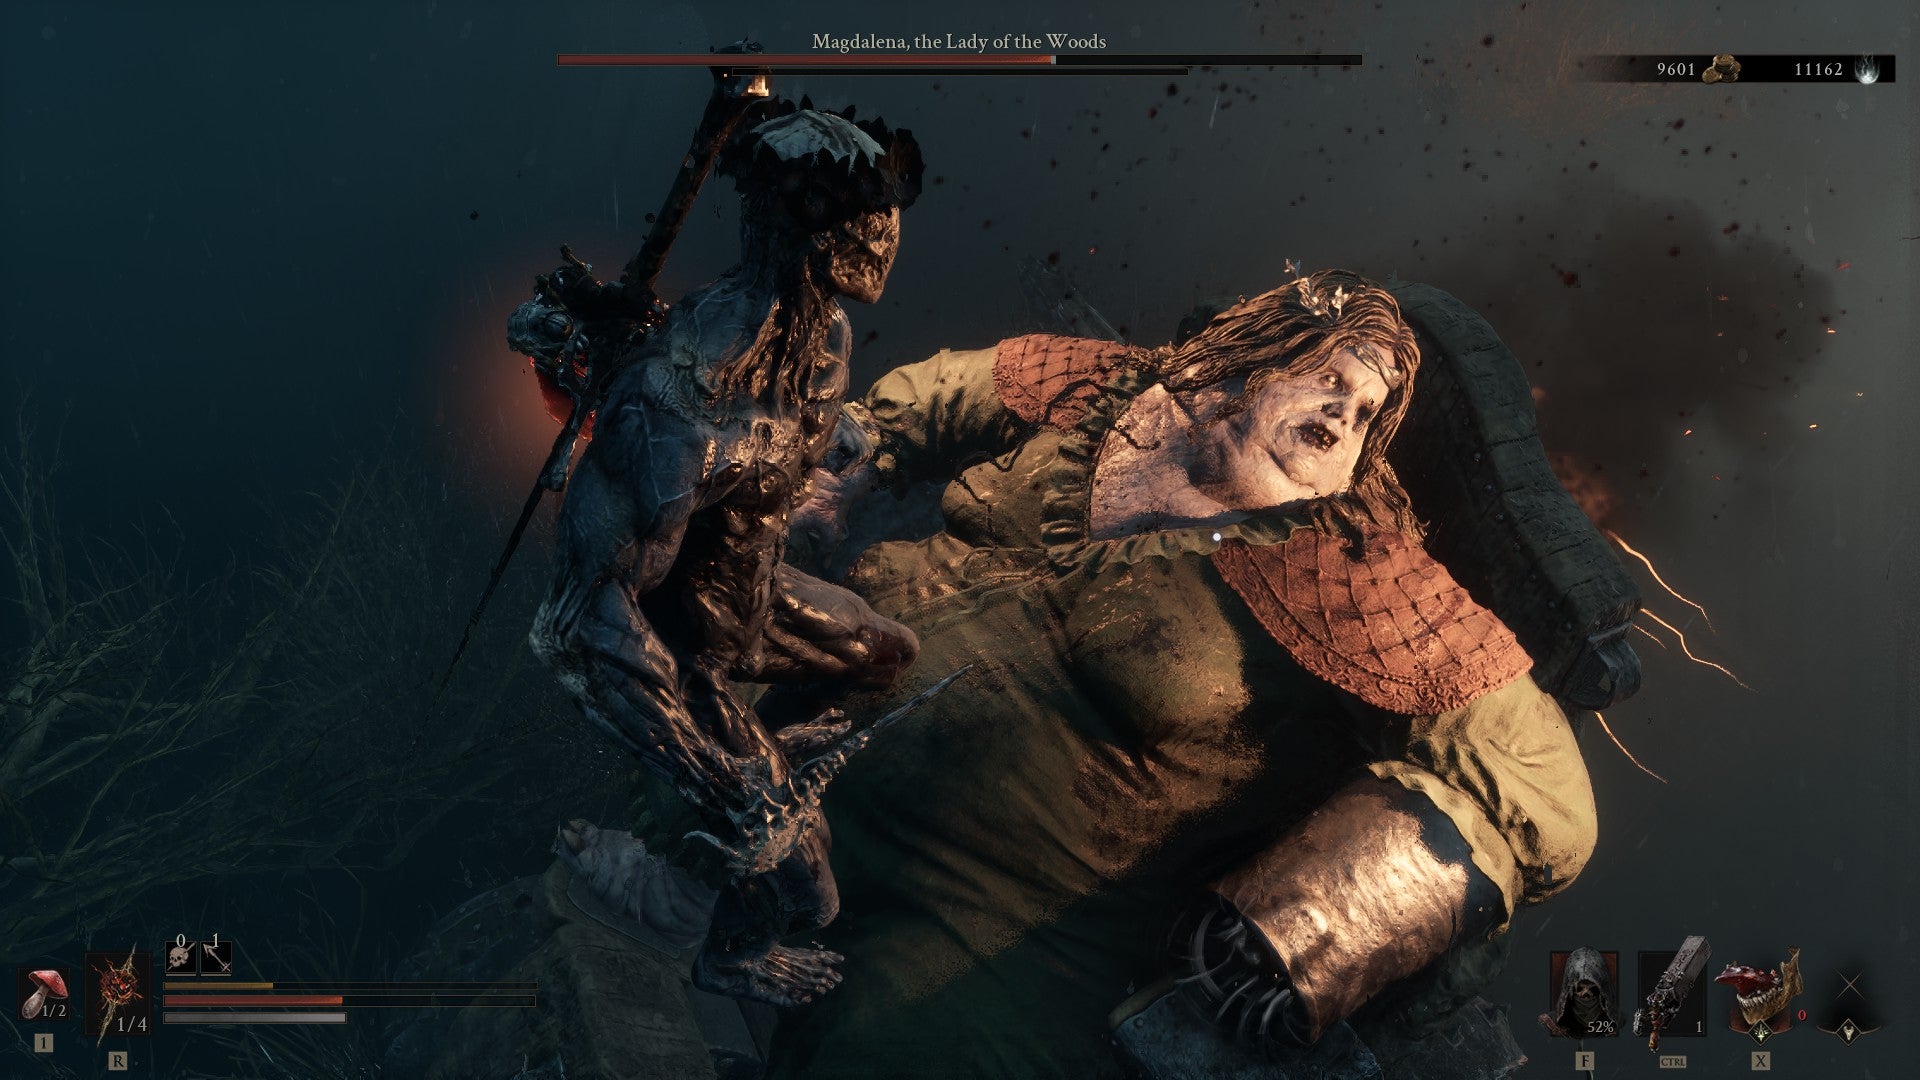
This'll teach you to stop driving like a Twisted Metal character, Magdalena! | Image credit: Rock Paper Shotgun/Playstack
- Closest Beacon: Sunken Village Beacon
- Location: After defeating the Wandering Shepherd, squeeze through the crack in the fence in the back of the arena and keep moving forward until you encounter Ruk, who alerts you to Magdalena's presence up ahead.
The Lady of the Woods is here...and she's in a rocket-powered mobility scooter! Hell yeah. This is an entertaining, chaotic fight, and you can summon the Shell Smert to assist if you like. Smert won't be that much help, though, especially as Magdalena proceeds to drive through the arena, unleashing hell in her wake and doing fiery donuts in her vehicle.
Opportunities to attack Magdalena can be rare at first, as she keeps rampaging your way and forcing you to dodge. Try to keep to her side to avoid the flames that shoot from her scooter's back, and notice that she always does two donut rotations. When she's done, get in there and hit her a few times before she revs up again. Her scooter will also occasionally get stuck - keep an eye on her animations, and if you're far from her when this occurs, use your sidearm.
Inflict enough damage, and you'll be able to do two powerful Ripostes against Magdalena during this fight, hopping atop her for several quick stabs. Eventually she'll also start summoning mutated Tar Babies to chase after you. These things only take a hit or two to destroy, and they're annoying. Try to dispatch all of them as a means of generating Resolve before refocusing your attention on Magdalena.
Mark boss as defeated.
9. Broodshell Swarm

Defeat the wriggling Leechtongues first; the Bell Snail is slow and easy to attack in comparison. | Image credit: Rock Paper Shotgun/Playstack
- Closest Beacon: Blackridge Pass Beacon
- Location: Enter the Blackridge Cliffs and go past the cultists fighting the Tarred Vestige. Veer north into the area with the Infested Stalker (the white spider-like creature), then turn east through the next region, where more Infested Stalkers abound. Pass through the archway, and you'll get to a graveyard entitled Stones of Remembrance. Head north-east until you reach a watery clearing full of snails; the Broodshell Swarm is in an enclave here.
The Broodshell Swarm is a collection of three enemies - two Leechtongues and one Bell Snail. They're hardy foes during this stretch of the game, but not unmanageable. Take the Leechtongues out first, as they have an unblockable lunging attack. As long as you can avoid this, they'll be vulnerable for a time with their heads buried in the dirt. When they're dead, focus on the Bell Snail, who is easy aside from occasionally hiding in its shell. Get in close and hit away.
Mark boss as defeated.
10. Grisha

Grisha are arguably the most common, recognisable enemies of the Mortal Shell games, and while it's possible to encounter them in the wild prior to this, the Flooded Village's Grisha is one particularly mean asshole. | Image credit: Rock Paper Shotgun/Playstack
- Closest Beacon: Blackridge Pass Beacon
- Location: Cross the rope bridges south of Blackridge Pass Beacon until you get to an area with an archway and several cultists guarding it. Take them out, break the wood on the archway, and peer through it to manifest an opening into a nearby stone structure. This leads to the Flooded Village Dungeon, which is full of sunken houses and some tough foes. The Grisha lurks in an arena-sized space in the east of this dungeon.
The Flooded Village Grisha is definitely a hardy rat-faced opponent, but this is a good chance to time your parries, guards, or hardens against its blade arm swipes. The goal here is to inflict Break damage and stagger the beast to make it fall onto its back, and a hefty weapon like the Battle Axe works wonders. There's one unblockable attack to watch out for, telegraphed by the Grisha roaring and then thrusting its bladed arm upwards in a spin.
There's an air current in this room, and you can ride it to the platform upwards to get some cheap shots on the Grisha with your sidearm. But don't rely on this, since your Resolve will eventually wear off.
Mark boss as defeated.
11. Lucian, the Thirsting Knight

Lucian's easy at first, but the second stage of this fight is annoying due to his invisibility. Stay aggressive - once you manage to latch onto him, he won't be able to escape you. | Image credit: Rock Paper Shotgun/Playstack
- Closest Beacon: Stonebled Gate Beacon
- Location: Lucian is the endboss of the Hidden Keep, the dungeon that opens when you Cleanse the Stonebled Gate Beacon. Progress through the dungeon and he'll attack you on a ruined bridge after you fight two heavily armoured knights.
Lucian is a lizard-like vampire boss who hits with swift scimitar strikes. They hurt, but can be blocked or dodged with some trial and error. As you knock him about, his helmet will fall off and he'll grow redder and redder before disappearing into a cloud of bats.
Explore the remainder of the dungeon until you reach the final room where the Ovum lie. Lucian will attack you once again, and this time he's invisible, which makes parrying his moves much harder. I hardened to endure the brunt of his strikes and then got a Battle Axe swipe in, after which he stayed visible. Beware his jumping kick, keep performing combos to stagger him and prevent his invisibility, and the fight will be yours.
Mark boss as defeated.
12. Tarblighted Stoner

Yikes, that's a big ol' piece of rock coming right for my head. | Image credit: Rock Paper Shotgun/Playstack
- Closest Beacon: Sanguine Shoreline Beacon
- Location: From the Sanguine Shoreline Beacon (the second Beacon in the Sanguine Caverns), simply pass through the transporter in front of you to be taken to a cave entrance where the Tarblighted Stoner lurks.
The Tarblighted Stoner's one of those big rock-chucking brutes who you may have already encountered in the overworld, except on fire. Smack him repeatedly with your Battle Axe or a similar weapon to build up Break damage, and stay clear of the boulders that he picks up. He'll often attack three or four times in a row with the boulder before tossing it at you. Sometimes he'll go for two boulder tosses; either way, these throws are unblockable.
Mark boss as defeated.
13. The Lost Child

Proxima gives the Lost Child a much-needed dental checkup. | Image credit: Rock Paper Shotgun/Playstack
- Closest Beacon: Sanguine Shoreline Beacon
- Location: After defeating the Tarblighted Stoner, move into the cavern and ride an air current to a higher level. You'll run into Ruk, who tells you about the Lost Child up ahead.
Eww, what a grotesque fella. The Lost Child is a putrid slug-like mass of flesh who barfs out a stream of acid, slurps you into his gut, and poops you out with much gusto. He's a truly wild boss, and even though you can summon Eredrim as help, don't expect your companion to last very long against the monstrosity.
The Forgotten Crossbow came in very handy during my fight. I infused it with Burn (via the Emberseed Stone) and fired non-stop barrages on the Lost Child from above with the Barrage Stone. These combined with some heavy attack Battle Axe combos took a good chunk out of his health, letting me get my Ripostes in.
If you're not a Crossbow fan, you can still do plenty of damage as long as you steer clear of the streams that the Lost Child fires from his mouth, as well as his arm swipes, one of which is unblockable. The Lost Child will also occasionally breathe in everything around him, and this move's another one that can't be blocked. Dodge out of the way, lest you get swallowed up and become yet another corpse in the gross arena.
Mark boss as defeated.
More bosses to come soon!
That finishes our guide to all bosses in Mortal Shell 2. For additional help on navigating the world of this grim Soulslike, check out our guides on how to get the Axe and Dagger and how to get the Lute. If you're more interested in quests, we've also got guides on how to complete Gorf's questline and Hilga's questline. Last but not least, be sure to bookmark our comprehensive walkthrough!