Mortal Shell 2: How to complete Hilga's questline
Overview & Key Takeaways
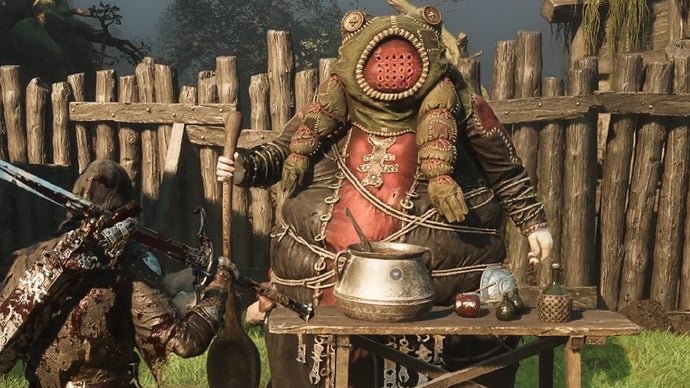
Hilga is a frog-obsessed witch in Mortal Shell 2's Mushroom Village, and when you first meet her, she's whipping up a secret elixir in a cauldron and watching a bony guy named Grom boil in a nearby pot. (What a couple!)
These two NPCs are some of the only characters in Mushroom Village who don't instantly try to kill you, and while they may seem bizarre at first, chatting with them multiple times reveals that there's much more than meets the eye regarding Hilga and her amphibian preferences.
If you've been wondering exactly what Hilga's deal is, and whether or not you should drink from her cauldron, we're here to spill all the details. In this guide, we'll explain how to complete Hilga's questline in Mortal Shell 2. We'll also explain how her story intersects with the questline of Gorf, a large toad from the first Mortal Shell who also appears in this game.
Hilga is a frog-obsessed witch in Mortal Shell 2's Mushroom Village, and when you first meet her, she's whipping up a secret elixir in a cauldron and watching a bony guy named Grom boil in a nearby pot. (What a couple!)
These two NPCs are some of the only characters in Mushroom Village who don't instantly try to kill you, and while they may seem bizarre at first, chatting with them multiple times reveals that there's much more than meets the eye regarding Hilga and her amphibian preferences.
If you've been wondering exactly what Hilga's deal is, and whether or not you should drink from her cauldron, we're here to spill all the details. In this guide, we'll explain how to complete Hilga's questline in Mortal Shell 2. We'll also explain how her story intersects with the questline of Gorf, a large toad from the first Mortal Shell who also appears in this game.
To see this content please enable targeting cookies.
Manage cookie settings
How to complete Hilga's questline
To complete Hilga's questline and see the final results of her experiments, follow these steps:
- Meet Hilga and Grom.
- Visit Grom again.
- See Hilga stirring Grom's broth.
- Visit Hilga again, and see Grom's transformation.
- Get in Hilga's pot.
- Witness Harwald's sad fate.
- See Grom locked up and Harwald's grave.
- Progress in Gorf's questline.
- Give Hilga the Poisoned Dagger.
- Read Hilga's goodbye note.
- Find Hilga with Gorf and provide the Common Moonshine.
- Visit Gorf to witness his recovery.
- Visit Gorf and see Hilga's new form.
- Enjoy the quest's happy ending.

A note on jumping ahead in Hilga's quest An extra tip from Jeremy
You can jump ahead in Hilga's questline depending on how often you talk to her and how far you're progressing in Gorf's questline at the same time. If you get the Poisoned Dagger early without talking to Hilga much, you can present it to her and skip several scenes involving her and Grom.
This guide is intended to help you see all of the pieces of Hilga's narrative, as the ending is more satisfying that way. In general, we recommend stopping by Hilga and Grom's lair as much as possible when you're in Mushroom Village.
2. Visit Grom again.
Resting at a Beacon will pass time and move Hilga's questline to its next step. When you stop by her enclosure again, she's nowhere to be found, but Grom is still stewing. Talk with him, and he'll say that Hilga's probably out gathering weeds for whatever she's mixing up.
If you try to drink from the cauldron again, you'll find it empty. Also, take another peek at Harwald. Grom remarks that Harwald looks tasty, and says Hilga "loves that stupid toad." (Hm, is Harwald a frog or a toad? The game calls him both!)
Mark step as finished.
3. See Hilga stirring Grom's broth.
Return once again and Hilga's back, this time stirring Grom to make sure he cooks just right. It seems as if her broth is working some kind of magic, as now all Grom can do is mutter madly. Ominous!

You told me to piss off, and now all you can do is mumble. Serves you right! | Image credit: Rock Paper Shotgun/Playstack
If you want to try drinking from Hilga's cauldron again, it's been refilled. Grom gets pissed off if you do this, but it looks like the Harbinger is immune to whatever Hilga's cookin' up.
Mark step as finished.
4. Visit Hilga again, and see Grom's transformation.
The next time you visit the weird duo of Mushroom Village, Grom has gotten even weirder. Looks like that special tonic has turned him into...a wannabe frog! He's not exactly green on the outside, but his interior is certainly frog-like.

Egad, that man thinks he's a frog! Hilga says she did it to heal him of his bad habits, hmmm. | Image credit: Rock Paper Shotgun/Playstack
Examine Grom and try drinking from the cauldron again. You can also examine Harwald for a good quote. ("Frog is teacher." Hilga says. "Warts hold wisdom.")
Mark step as finished.
5. Get in Hilga's pot.
Now it's your turn. The pot will be empty when you next visit, and Hilga invites you to sit in it. Why not! Take a load off and relax for a bit - as Hilga says, it's safe here. No worries and no pain.
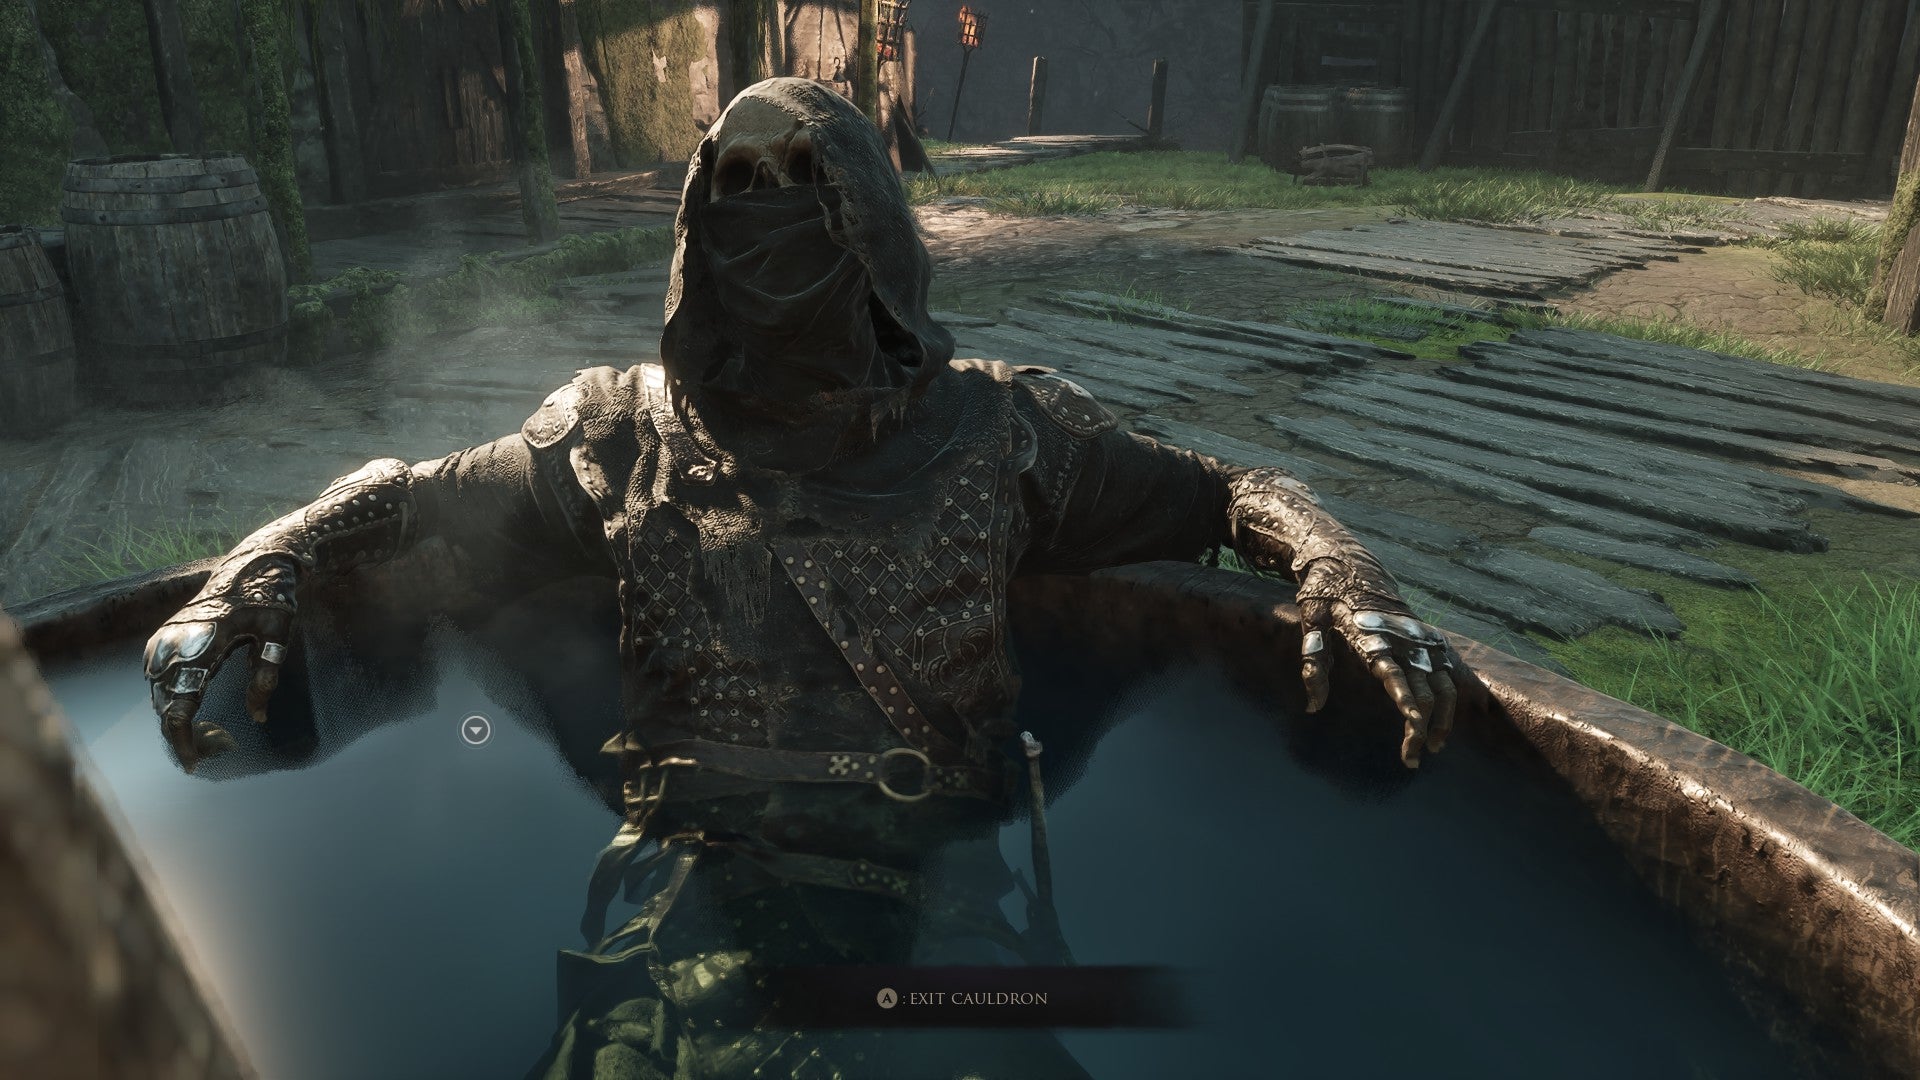
Ahhhh, this is the life. | Image credit: Rock Paper Shotgun/Playstack
When you're done roasting in Hilga's makeshift hot spring, check out Grom again, who's fully embraced the ribbit lifestyle. The guy seems hungry...
Mark step as finished.
6. Witness Harwald's sad fate.
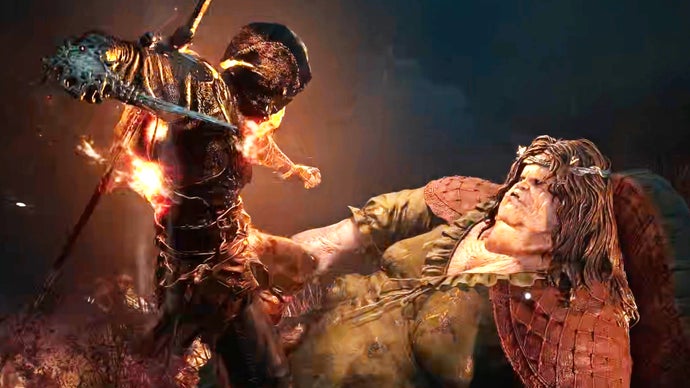
Tragedy strikes Mushroom Village! The next time you stop by, all that remains of Harwald is a fleshy carcass on the ground, which you can examine. Grom killed the toad/frog, that bastard! Hilga is distraught, to say the least.

Alas, poor Harwald. We hardly knew ye. | Image credit: Rock Paper Shotgun/Playstack
Once again, you can drink from the cauldron to little fanfare. Unfortunately, you can't take vengeance and kill Grom. (Believe me, I tried.)
Mark step as finished.
7. See Grom locked up and Harwald's grave.
Rest and return to see Grom thrown in a cage. Hilga seems bitter and angry now, poor girl. Looks like she could use some company, or at least an event to help her restore her froggy faith.
You can drink from the cauldron as usual, but Hilga doesn't seem to care any longer. Be sure to visit Harwald's little grave to the left of the cauldron and pay your respects.

So sad! Pour out some Moonshine for Harwald. | Image credit: Rock Paper Shotgun/Playstack
Mark step as finished.
8. Progress in Gorf's questline.
You've exhausted Hilga's questline for now, and she'll merely sigh whenever you see her again. To go further, open our guide to Gorf's questline in another tab and complete the steps until you get the Poisoned Dagger.
Mark step as finished.
9. Give Hilga the Poisoned Dagger.

Snap Hilga out of her funk by giving her a new goal in life - helping Gorf! | Image credit: Rock Paper Shotgun/Playstack
After you've progressed Gorf's questline to the point where he's poisoned, go and give Hilga the Poisoned Dagger. She jumps into action and sets out to save Gorf!
Mark step as finished.
10. Read Hilga's goodbye note.
After resting and returning to Hilga's spot in Mushroom Village one last time, you'll find it empty. She's left behind a note for you, though, indicating that you should know where to find her.

Aww, Hilga was sweet enough to leave us a note hinting about her whereabouts. | Image credit: Rock Paper Shotgun/Playstack
Despite what the note says about asking Grom for a recipe, it doesn't appear as if the guy can do much else but bounce around in his cage.
Mark step as finished.
11. Find Hilga with Gorf and provide the Common Moonshine.
Return to Gorf to see him slumped over and not doing so hot. Thankfully, Hilga's here to help out, and reveals that Gorf is the Great Frógga (...but I thought he was a toad), and "very handsome, but very foolish."

Hilga's here to pull Gorf's wart-covered backside out of the fire. | Image credit: Rock Paper Shotgun/Playstack
Hilga says you need to contribute to Gorf's recovery, so give the big guy a Common Moonshine. These are fairly common items that can usually be found within dungeons and by looting brigand camps.
Mark step as finished.
12. Visit Gorf to witness his recovery.
Rest and pay Gorf a visit to see how he's healing. Looks like he's not only much better, but healthier than ever before! He'll thank you and offer up a Marsh Pearl. (If you've been following all of the steps of our Gorf questline guide alongside this one, you should end up with five Marsh Pearls.) But where's Hilga...?
Mark step as finished.
13. Visit Gorf and see Hilga's new form.
Finally, Hilga's evolved into her ultimate form - a giant amphibian! Looks like she's decided to join Gorf and be his froggy wife for all time. Told you she was a sweet gal deep down!

After exhausting their dialogue, these two will ask for some privacy. Insert "Let's Get It On" by Marvin Gaye here... | Image credit: Rock Paper Shotgun/Playstack
Mark step as finished.
14. Enjoy the quest's happy ending.
Finally, this quest reaches its finale. Go back to Gorf and Hilga's clearing one last time to see their happy ending - babies! Four toad kiddies are around the clearing, and one of them looks just like Harwald. The soul of Hilga's companion lives on!
This brings an end to Hilga's - and Gorf's - questlines. If you want one last surprise, try playing the Troubadour's Lute in front of them. They'll smile and bob back and forth with great glee. What a nice couple.

You can always return to your froggy friends whenever you need a break from your adventure - and a willing audience for your lute compositions. | Image credit: Rock Paper Shotgun/Playstack
Mark step as finished.
Well done, you've now completed Hilga's questline in Mortal Shell 2. For more on the secrets in this massive Soulslike, check out our guides on how to get the Lute and how to get the Axe and Dagger. Our list of all bosses and our comprehensive walkthrough are also pivotal resources as you tackle Fainweald and the grim realms beyond.