Mortal Shell 2: Prologue walkthrough (Part 1)
Overview & Key Takeaways
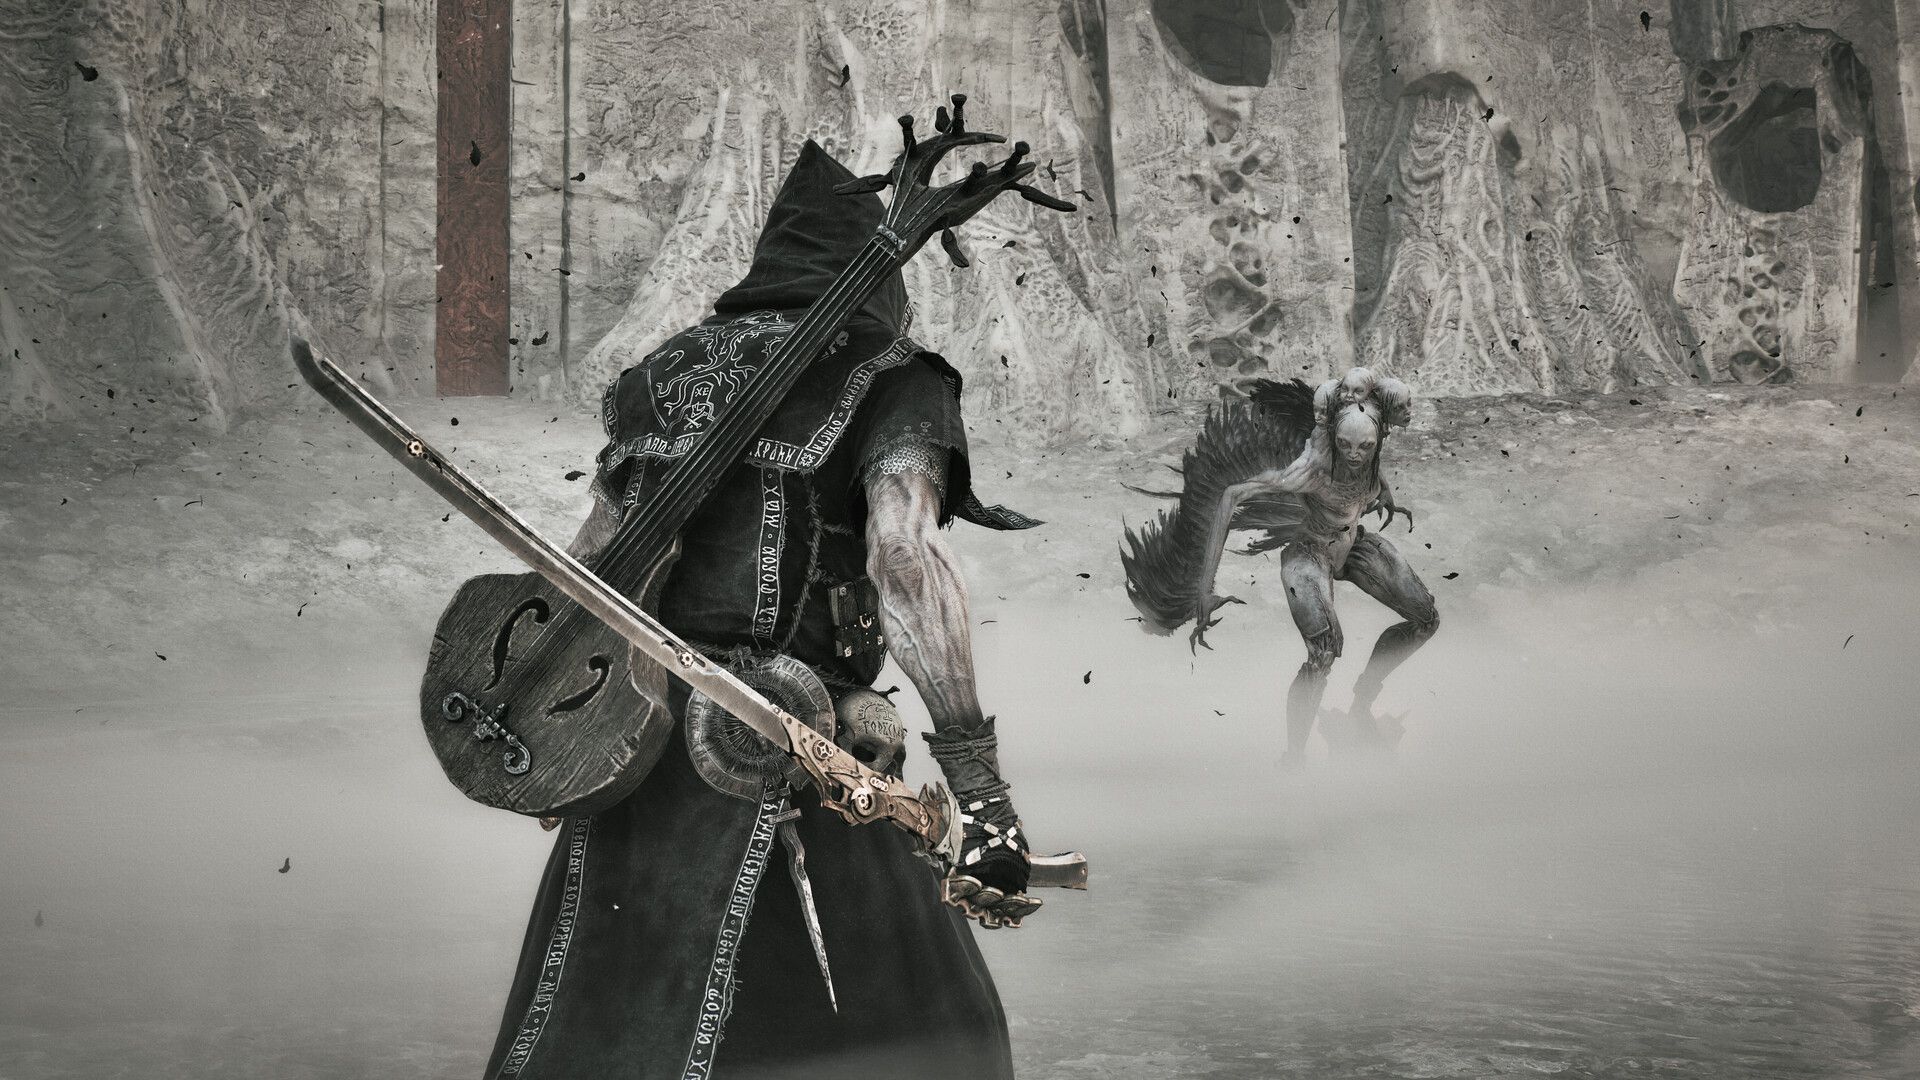
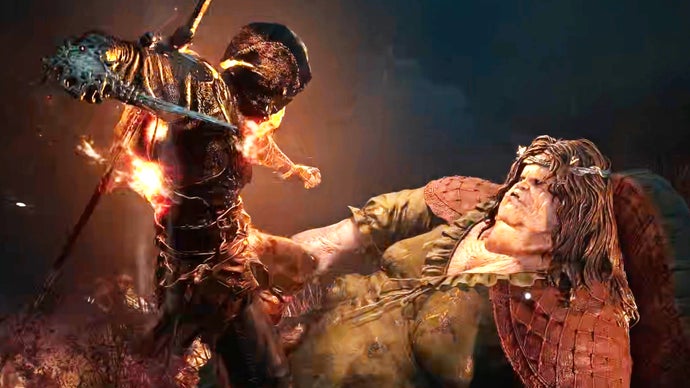
Welcome, Harbinger, to Mortal Shell 2. If you're here, then you're about to start a dark, punishing, beautiful journey through one of the best soulslikes I've ever played. Whether you already made your way through the Prologue during the open beta or it's all entirely new to you, there's a surprising amount to discover in this starting area alone.
In this first section of our expansive walkthrough of Mortal Shell 2, I'll guide you through every step of the journey, highlighting every hidden collectible, every boss, every optional area and dungeon. I'll provide tips on all the new enemies you encounter along the way, and explain mechanics that are unique to the Mortal Shell series in great detail, so that you can feel fully in control at every moment of your playthrough. If you want to 100% Mortal Shell 2, then start here!
Welcome, Harbinger, to Mortal Shell 2. If you're here, then you're about to start a dark, punishing, beautiful journey through one of the best soulslikes I've ever played. Whether you already made your way through the Prologue during the open beta or it's all entirely new to you, there's a surprising amount to discover in this starting area alone.
In this first section of our expansive walkthrough of Mortal Shell 2, I'll guide you through every step of the journey, highlighting every hidden collectible, every boss, every optional area and dungeon. I'll provide tips on all the new enemies you encounter along the way, and explain mechanics that are unique to the Mortal Shell series in great detail, so that you can feel fully in control at every moment of your playthrough. If you want to 100% Mortal Shell 2, then start here!
Want the walkthrough for a different area of the game? You'll find the full list of all our guides on our Mortal Shell 2 walkthrough hub page!
Prologue walkthrough steps:
- Gain your first Shell.
- Fight your way through the battlefield.
- Reach the Village Outskirts Beacon.
- Enter the Beacon and Cleanse the Overgrown Temple.
- Defeat the Gloombound Ritualist.
- Reach the Disciple's Grotto Beacon.
- Cleanse the Derelict Hideout.
- Defeat the Tainted Vestige.
- Clear out Garrick's Den.
- Fight the Tar Golem.
- Collect your first Ovum.
- Reach the Marrow Keep.
To see this content please enable targeting cookies.
Manage cookie settings
1. Gain your first Shell.
When you first gain control of your character, head through the open gate to the left of the house in front of you. There's some Trollweed at the end of the path. Then turn around, and exit out into the Forlorn Village.


Image credit: Rock Paper Shotgun/Playstack
Speak with Daisy ahead if you like, and then take her advice to go on ahead through the next gateway. The village is filled with cultists who you can speak with to gain some tiny snippets of one-way dialogue, but none of it is very important. Make your way down the slope and accept a flower crown from Marigold, the cultist on the path.


Image credit: Rock Paper Shotgun/Playstack
Keep following the path past the unfortunate tableaux of Fern and then Nettle; after that, you'll reach the main event. Approach the sitting armoured knight holding the strange egg-like object, and tap A to "Claim What's Yours".

Image credit: Rock Paper Shotgun/Playstack
You'll briefly enter a strange dreamlike realm, where you can commune directly with the godlike UnderMether. Or rather, she can commune with you. Walk forwards, and once the UnderMether's finished speaking, interact with the kneeling knight to obtain your first Shell: Harros.

What is a Shell? An extra tip from Ollie
If you're new to the Mortal Shell series, you might wonder what a Shell actually is. A Shell is essentially a dead body which you can inhabit, and which functions a bit like a "class". Each Shell gives you a different active ability and playstyle. Harros's ability is Stone Stun, which you'll learn about very shortly.
The other important thing about Shells: if you "die", then you're thrown out of your Shell, but you can continue fighting as your own "naked" Harbinger self - just without the benefit of the Shell's abilities. If you deal enough damage to enemies, then you can resummon your Shell.
Simply put: if you're in a Shell, then you have a "last chance" after death. But if you're slain while outside of a Shell, then you're properly dead, and will have to respawn at the nearest Beacon.

Image credit: Rock Paper Shotgun/Playstack
Mark step as completed.
2. Fight your way through the battlefield.
When you awaken, you'll have not only Harros's Shell, but your first pieces of equipment:
- The Iconoclast - a light two-handed sword.
- Naylshotte - a powerful shotgun.
- Untarnished Seal - allows you to Block/Perfect Guard.
The cultists before you are now all petrified rock; feel free to try your sword out on them to get a feel for it. Before moving on, check the left-hand wall - around the other side of the tree, you'll find a piece of Ventrium - a material for upgrading weapons later on.


Image credit: Rock Paper Shotgun/Playstack
Head past the cultists and you'll find Ruk, the creepy skeletal raven who spoke with your character as they awoke. Speak with him if you like, but he won't tell you much.

Image credit: Rock Paper Shotgun/Playstack
Head beyond Ruk and destroy the crates blocking the path. Drop down into the battlefield below. On the left, you'll find more crates surrounding a strange glowing tentacle in the ground. Attack the tentacle to obtain some Gloom - the main progression currency of Mortal Shell 2. It's Mortal Shell 2's version of Souls; the resource you use to level up your character, which is dropped on death (and lost thereafter if you fail to retrieve it).

Image credit: Rock Paper Shotgun/Playstack
Further into the battlefield, you'll find your first enemies - five Wretches. These pale, shambling creatures have very slow and telegraphed swipe attacks. Use them to familiarise yourself with the movement of your character - dodges, blocks, light attacks, and heavy attacks.

Image credit: Rock Paper Shotgun/Playstack


Image credit: Rock Paper Shotgun/Playstack
Loot the 50x Coin Pouch from the corpse on the right-hand side. As well as the two main paths into the next bit of the battlefield, there's also a side passage even further to the right, again blocked by crates. Take this path; tear through the crates and kill the three Wretches behind them. You'll find another 50x Coin Pouch on the ground.
Then progress into the next section of the battlefield, where another five Wretches are waiting to be cut down. There's also a corpse near the centre which holds another Ventrium, and another Gloom tentacle to chop down on the far left side in the river.


Image credit: Rock Paper Shotgun/Playstack
Then head to the back of the battlefield and up the wooden steps. They'll lead you to an UnderMether statue, where you can "Commune" for a gameplay tip - in this case, it teaches you how to use your ranged weapon, the Naylshotte.
Using Free Aim An extra tip from Ollie
The UnderMether statue mentions that you can switch to Free Aim in the settings menu. I'd advise you do this - it allows you to aim at (for example) explosive barrels and the like. You can still lock onto enemies even with Free Aim enabled, allowing you to shoot them accurately without needing to properly aim. It's by far the better of the two options.

Image credit: Rock Paper Shotgun/Playstack
Mark step as completed.
3. Reach the Village Outskirts Beacon.
Continue up the stairs, and around the corner you'll enter into a courtyard containing a gang of Brigand Soldiers. Their attacks are faster, they close distance more aggressively, and they use combos more liberally. This is essentially Stage 2 of basic combat training.

Image credit: Rock Paper Shotgun/Playstack
Clear out the Brigands, and then head behind their tent for a short journal entry you can read. There's also a 50x Coin Pouch on the wooden beam behind the tent.
To the right of the entrance, there's a partially walled off section with a strange little statue poking out of the ground. Interact with it to collect another Ventrium.


Image credit: Rock Paper Shotgun/Playstack
There's nothing else left for you here, so head over to the far side of the courtyard, through the broken stone brick wall. Destroy the crates blocking your path, and collect from the ground another Coin Pouch.
Then drop down into the swamp below. Ahead of you is the Village Outskirts Beacon. Hold A to revitalise it, allowing you to rest there and recover your health.

Image credit: Rock Paper Shotgun/Playstack
Mark step as completed.
4. Enter the Beacon and Cleanse the Overgrown Temple.
As you'll discover from the tutorial panel that appears when you rest there, Beacons in Mortal Shell 2 differ from traditional soulslike checkpoints. Most Beacons double as dungeons which you can enter and fight your way through. Once you reach the end, you can "Cleanse" the Beacon, which unlocks the Beacon's full capabilities as a rest point, and also removes any corruption in the vicinity around the Beacon.
The way forward is blocked until you cleanse this particular Beacon, so interact with it and select "Cleanse Beacon".
Inside, head down the steps and open the chest to obtain a Muradean Actuator - a special item you can hand over to an NPC later on. In the corridor just beyond there's another journal entry you can read if you like.

Image credit: Rock Paper Shotgun/Playstack
In true Souls fashion, step on the central button of the elevator ahead to activate it. Once you're at the bottom, follow the path ahead into the Overgrown Temple.
Another UnderMether statue (or what's left of it) is on the right; commune with it to learn that different enemies are weak to different attack types (Light/Heavy/Ranged). Case in point: the enemy ahead is a Shield Brigand. Cut straight through the shield with a well-timed Heavy Attack, and strike him down.


Image credit: Rock Paper Shotgun/Playstack
Down the steps, you'll find another Shield Brigand, and a larger, boulder-throwing ogre-like Brigand Stoner. He may look intimidating but all his attacks are very easy to dodge. Whittle him down with ranged and melee attacks.

Image credit: Rock Paper Shotgun/Playstack
To the left of the big enemy, there's a small side room containing two more Shield Brigands. Kill them both, and then press the button on the wall at the end of the room. This lifts the gate that the Stoner was guarding. Head through the gate and interact with the black growth to Cleanse the corruption inside the Beacon.


Image credit: Rock Paper Shotgun/Playstack
Before you return to the Beacon, double back to the end of the main corridor where the Stoner was, and you'll see another small statue at the end. It was previously covered by more black corruption, but now that it's gone, you can collect another Ventrium for your trouble. Then interact with the growth at the end to teleport back out of the Beacon.

Image credit: Rock Paper Shotgun/Playstack
Mark step as completed.
5. Defeat the Gloombound Ritualist.
With the Beacon cleansed, all the nasty black corruption barring the way forward has disappeared. Rest again at the Beacon if you need to. Behind you, you can also find a Weltcap mushroom by the wall, now uncovered by corruption.

Image credit: Rock Paper Shotgun/Playstack
Forge ahead and you'll find a Crossbowman shooting at you, and another Brigand waiting to jump out at you from the right. Kill them both and interact with the next UnderMether statue ahead to learn about Shell Abilities. Harros's ability petrifies nearby enemies for a time. When you strike a petrified enemy, it deals damage to their Break bar instead of their Health bar.


Image credit: Rock Paper Shotgun/Playstack
The path now diverges, so take the left route up the slope first. You'll find a couple groups of Wretches along the way, designed for you to try out your Shell Ability. Once they're dead, loot the Common Moonshine at the corner. You can turn back now if you like; there's nothing else to say on the rest of this path.
Now drop down into the lower right-hand path, where you'll come across a new enemy: a Mycellian Skulk. These enemies explode into poison gas when they die, so back off quickly after striking them down.


Image credit: Rock Paper Shotgun/Playstack
Hug the right-hand cliff wall as you go, and you'll find a little tunnel with a Weltcap guarded by another Skulk. Keep going all the way to the end, where you'll drop into a small swampy lake lit by torches.
It may not look it, but this is your first boss arena. As you drop in, the Gloombound Ritualist will rise from the ground and attack you.

Image credit: Rock Paper Shotgun/Playstack
The most dangerous thing the Ritualist does is wave his staff in the air and summon a group of kamikaze minions (called Infested Wretches) which run towards you and explode. They deal huge damage to you, so dodge well away as they dive towards you, and don't try to engage the Ritualist before they're all dead.
In close quarters, the Ritualist has some hard-hitting attacks, but can be broken very easily using a combination of Perfect Guards and your Stone Stun ability. You can also use your Naylshotte to inflict massive damage, but only use it when you're safe - for example, as the Ritualist is recovering from a critical hit.

Image credit: Rock Paper Shotgun/Playstack
Once the Gloombound Ritualist is dead, head to the far end of the arena past the wooden crates.
Mark step as completed.
6. Reach the Disciple's Grotto Beacon.


Image credit: Rock Paper Shotgun/Playstack
Past the crates, kill the lone Brigand who attacks you from the left. Before you head past him, go to the end of your current pathway and you'll find a 150x Coin Pouch on the fence.
Now go up the slope and you'll encounter another group consisting of two Brigands and a Stoner. Kill them, and pick up the Common Moonshine on the right. There's also a journal entry you can read before continuing on.


Image credit: Rock Paper Shotgun/Playstack
Further on, you'll find a white skeletal statue in a clearing. Kill the lone guard at its base, and then strike the statue three times to knock the stone from its peak. Pick it up for your first Laterite - the next step up in weapon upgrade materials from Ventrium.


Image credit: Rock Paper Shotgun/Playstack
Now turn and head through onto the bridge. Watch out here - the three regular Soldiers aren't much trouble alone, but together they can be a threat. And that's not all - a heavily armoured poleaxe-wielding Armed Knave is bringing up the rear, and he can really tear you apart if you're not careful.


Image credit: Rock Paper Shotgun/Playstack
Take the bridge slowly. Use your ranged attacks to pick off the smaller enemies, and don't engage the Knight until you're alone. Once it's time, get in his face and stay there, practising your perfect blocks. His attacks hit like a truck, but they're telegraphed pretty well.
Cross the bridge to the very end. Don't drop off the side of the bridge when you see the opportunity - just keep going straight on.

Image credit: Rock Paper Shotgun/Playstack
At the end, you'll drop down into a cave with a tree in the centre. There are two nasty Netopyrs hanging from the branches. These pale bat-like creatures have a powerful shotgun-like ranged blast, so get ready to dodge, and take them out quickly with your ranged weapon.


Image credit: Rock Paper Shotgun/Playstack
Just beyond that is the Disciple's Grotto Beacon, so go ahead and rest there.
Mark step as completed.
8. Defeat the Tainted Vestige.

Image credit: Rock Paper Shotgun/Playstack
Back out of the Beacon, look to your immediate left and you'll see an exit out of the cave. Follow the very short path to a miniboss - the Tainted Vestige. This is where you would have ended up if you'd dropped off the bridge. Now, at least, you have a respawn point right nearby.
The Tainted Vestige is the second-hardest enemy in the Prologue. At range, it fires two sets of underground spikes at you, and they come out fast, so prepare to dodge and close the distance fast to discourage this attack.

Image credit: Rock Paper Shotgun/Playstack
In melee, its attacks are mostly very slow and telegraphed, and therefore great for Perfect Blocking. But one of its attacks is an unblockable grab, and it comes out fast. If you're caught by this attack, you're likely dead (or at least your Shell is).
Play it patient, and don't try to fit too many swings into each opening it gives you in case its next attack is that grab. Once it's dead, chop at the bone statue for another Laterite, then head back to the Disciple's Grotto Beacon.

Image credit: Rock Paper Shotgun/Playstack
Mark step as completed.
10. Fight the Tar Golem.
To the right of the Beacon is another UnderMether statue, which tells you how to Guard (if you hadn't already figured it out). Head down the slope and a large armoured creature (a Headsman) will drop down in front of you. Like the Knave on the bridge, he hits hard, but he's very easy to Perfect Guard against, and his Break meter is pretty small. Kill him, then look behind you for another Ventrium embedded in a corrupted gravestone.

Image credit: Rock Paper Shotgun/Playstack


Image credit: Rock Paper Shotgun/Playstack
Now ride the air current behind where the creature dropped down, and follow the path all the way to Ruk, the creepy skeletal raven guiding your path. He'll warn you that something dangerous is ahead. By which he means: your first big boss battle.

Image credit: Rock Paper Shotgun/Playstack
Head on around the corner and interact with the Bone Gate to teleport into the boss arena. Head to the back of the arena and pick up the lit torch to start a cutscene heralding the arrival of the Tar Golem boss.


Image credit: Rock Paper Shotgun/Playstack
Notice how I said "Fight" rather than "Defeat" for this step? There's a reason for that.
The good news is: this is a boss that you're meant to lose to, in true Souls fashion. If you die, you still progress past the boss. But this also means that if you want the achievement where you bring the Tar Golem to zero Health, you'll need to ALT+F4 your game the moment your "death" cutscene begins, then load up the game and try again.
There's a lot of dodging involved here, because a large number of the Tar Golem's attacks are unblockable. Don't panic-dodge too early - the telegraphing is easy to follow as long as you hold your nerve.

Image credit: Rock Paper Shotgun/Playstack
Your advantage comes when the Tar Golem starts walking forward and axing the ground, one axe after the other. That first attack comes out quite fast, but as long as you can catch it in time, this ends up being a great opportunity to Perfect Guard one attack after another, massively building up the boss's Break meter. You can also use Stone Stun to hurry up the process, and your Naylshotte for extra damage after a critical hit.

Image credit: Rock Paper Shotgun/Playstack
Whether you win or lose, a cutscene will ensue where you - the now Shell-less Harbinger - are saved from death by your own Shell, Harros, who gives his life to keep yours going. After the cutscene ends, pick up Vatra's Seal from Harros, and head through the exit and up the elevator.


Image credit: Rock Paper Shotgun/Playstack
Mark step as completed.
12. Reach the Marrow Keep.
After taking the Ovum you'll be transported to a new area. As you get up, you'll receive your first map: Ruk's Map. Follow the prompt to open the map up and take a look at where you are. You'll see you're at the start of a long walk east towards the Marrow Keep, which will be your base of operations for the rest of the game.

Image credit: Rock Paper Shotgun/Playstack
Before you start heading east, turn around and you'll see a small cave opening behind you, with a pickup glinting inside a rock. Pick it up for a Coin Of Mammon - a valuable which you can sell for 500 Coin later on.
Now simply follow the long, cinematic path all the way to the Marrow Keep, enjoying the vistas as you go. There's another stone platform you can sit at towards the end of the path, but otherwise keep going until you reach a "squeeze through" point.


Image credit: Rock Paper Shotgun/Playstack

Image credit: Rock Paper Shotgun/Playstack
Head through the gap to find Ruk and a number of devoted followers of the UnderMether, at the entrance to the Marrow Keep. Head between Ruk and the followers to find a Devout's Chalice item (another valuable) to the left of the entrance. Then place the Ovum at the entrance to the Keep.

Image credit: Rock Paper Shotgun/Playstack
Once that's done, head on into the Marrow Keep and speak with Zhirelle - the Shellkeeper. Doing so will also highlight on your map the locations of two more Shells to track down. We'll get to them in another part of our walkthrough!

Image credit: Rock Paper Shotgun/Playstack


Image credit: Rock Paper Shotgun/Playstack
Head past Zhirelle after chatting with her, and rest at the Marrow Keep Beacon. Congratulations - you've officially completed the Prologue of Mortal Shell 2!
Mark step as completed.
The Prologue should give you a nice taster of things to come in Mortal Shell 2, but things are going to get a lot more open-world from here. It can honestly get pretty overwhelming, but if you want a nice, understandable route through all the chaos, just head on over to the next part of our walkthrough: Widow's Overlook.