Subnautica 2: Tadpole Pens keycode
๐Ÿ–ฅ Xbox, PCGuides / Walkthroughs
#PC#Action Adventure#Xbox Series X/S#Multiplayer Cooperative#Xbox

Subnautica 2: Tadpole Pens keycode

Rock Paper Shotgun ยป Guidesโœ Ollie Tomsโฑ 7 min read(3 months ago)

Overview & Key Takeaways

Throughout Subnautica 2, your ever-present AI companion, NoA, will dripfeed you a series of signals to follow, to piece together the mystery of what happened here on Proteus. It won't be long before you're given the quest to "Investigate Tadpole Pens", taking you further to the east than ever before - and into some ragingly high temperatures while you're at it.

As you may have discovered, however, just reaching the Tadpole Pens isn't enough. Inside you'll find a locked door which won't open until you have the correct "keycode". This keycode can be found inside the Hot Cave below Tailings Village, not far at all from your current positino. In this quick guide, I'll show you exactly where to go to get the Tadpole Pens keycode in Subnautica 2, and how to use it to Investigate the Tadpole Pens themselves.

Read more

Throughout Subnautica 2, your ever-present AI companion, NoA, will dripfeed you a series of signals to follow, to piece together the mystery of what happened here on Proteus. It won't be long before you're given the quest to "Investigate Tadpole Pens", taking you further to the east than ever before - and into some ragingly high temperatures while you're at it.

As you may have discovered, however, just reaching the Tadpole Pens isn't enough. Inside you'll find a locked door which won't open until you have the correct "keycode". This keycode can be found inside the Hot Cave below Tailings Village, not far at all from your current positino. In this quick guide, I'll show you exactly where to go to get the Tadpole Pens keycode in Subnautica 2, and how to use it to Investigate the Tadpole Pens themselves.

In this guide:

To see this content please enable targeting cookies.

Manage cookie settings


How to Investigate Tadpole Pens

A partial map of Subnautica 2 showing the path from the Lifepod east to the Tadpole Pens. A partial map of Subnautica 2 showing the path from the Lifepod east to the Tadpole Pens.

Image credit: RPS/MapGenie/Unknown Worlds

The Tadpole Pens can be found inside Subnautica 2's hot biome, 680 metres directly east from the Lifepod, at 150m depth. You cannot properly explore the area until you have unlocked the Heat Tolerance Adaptation, which allows you to withstand the extreme temperatures of this biome.

I also highly recommend that you first unlock and build a Tadpole vehicle, because this will make exploring the deeper reaches of the hot biome far easier than diving on your own - even if you have maxed out your Oxygen supply.

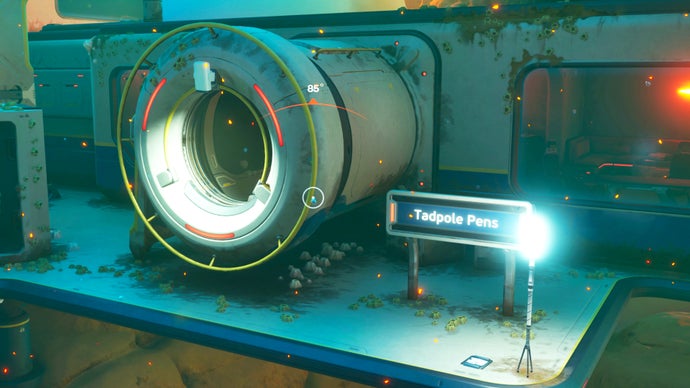
The player in Subnautica 2 stands in front of a scanner inside the Tadpole Pens, which glows red as a pop-up tells the player that the Tadpole Pens keycode is required to open the door next to them. The player in Subnautica 2 stands in front of a scanner inside the Tadpole Pens, which glows red as a pop-up tells the player that the Tadpole Pens keycode is required to open the door next to them.

Image credit: RPS/Unknown Worlds

As you enter the Tadpole Pens, turn left and head straight to the closed door in front of you. In the corridor is a button which you can press to start an authorization scan. But if you try this, the scan will turn red and your PDA will tell you that there is a "Keycode required".

The NoA terminal which completes this quest is behind that door. So, to investigate the Tadpole Pens, you first need to acquire the Tadpole Pens keycode. Fortunately, the keycode is not at all far from the Tadpole Pens themselves.


How to get the Tadpole Pens keycode

To get the Tadpole Pens keycode, exit the Tadpole Pens and head directly southwest through the canyon. You'll quickly enter Tailings Village - an area dotted with spherical structures.
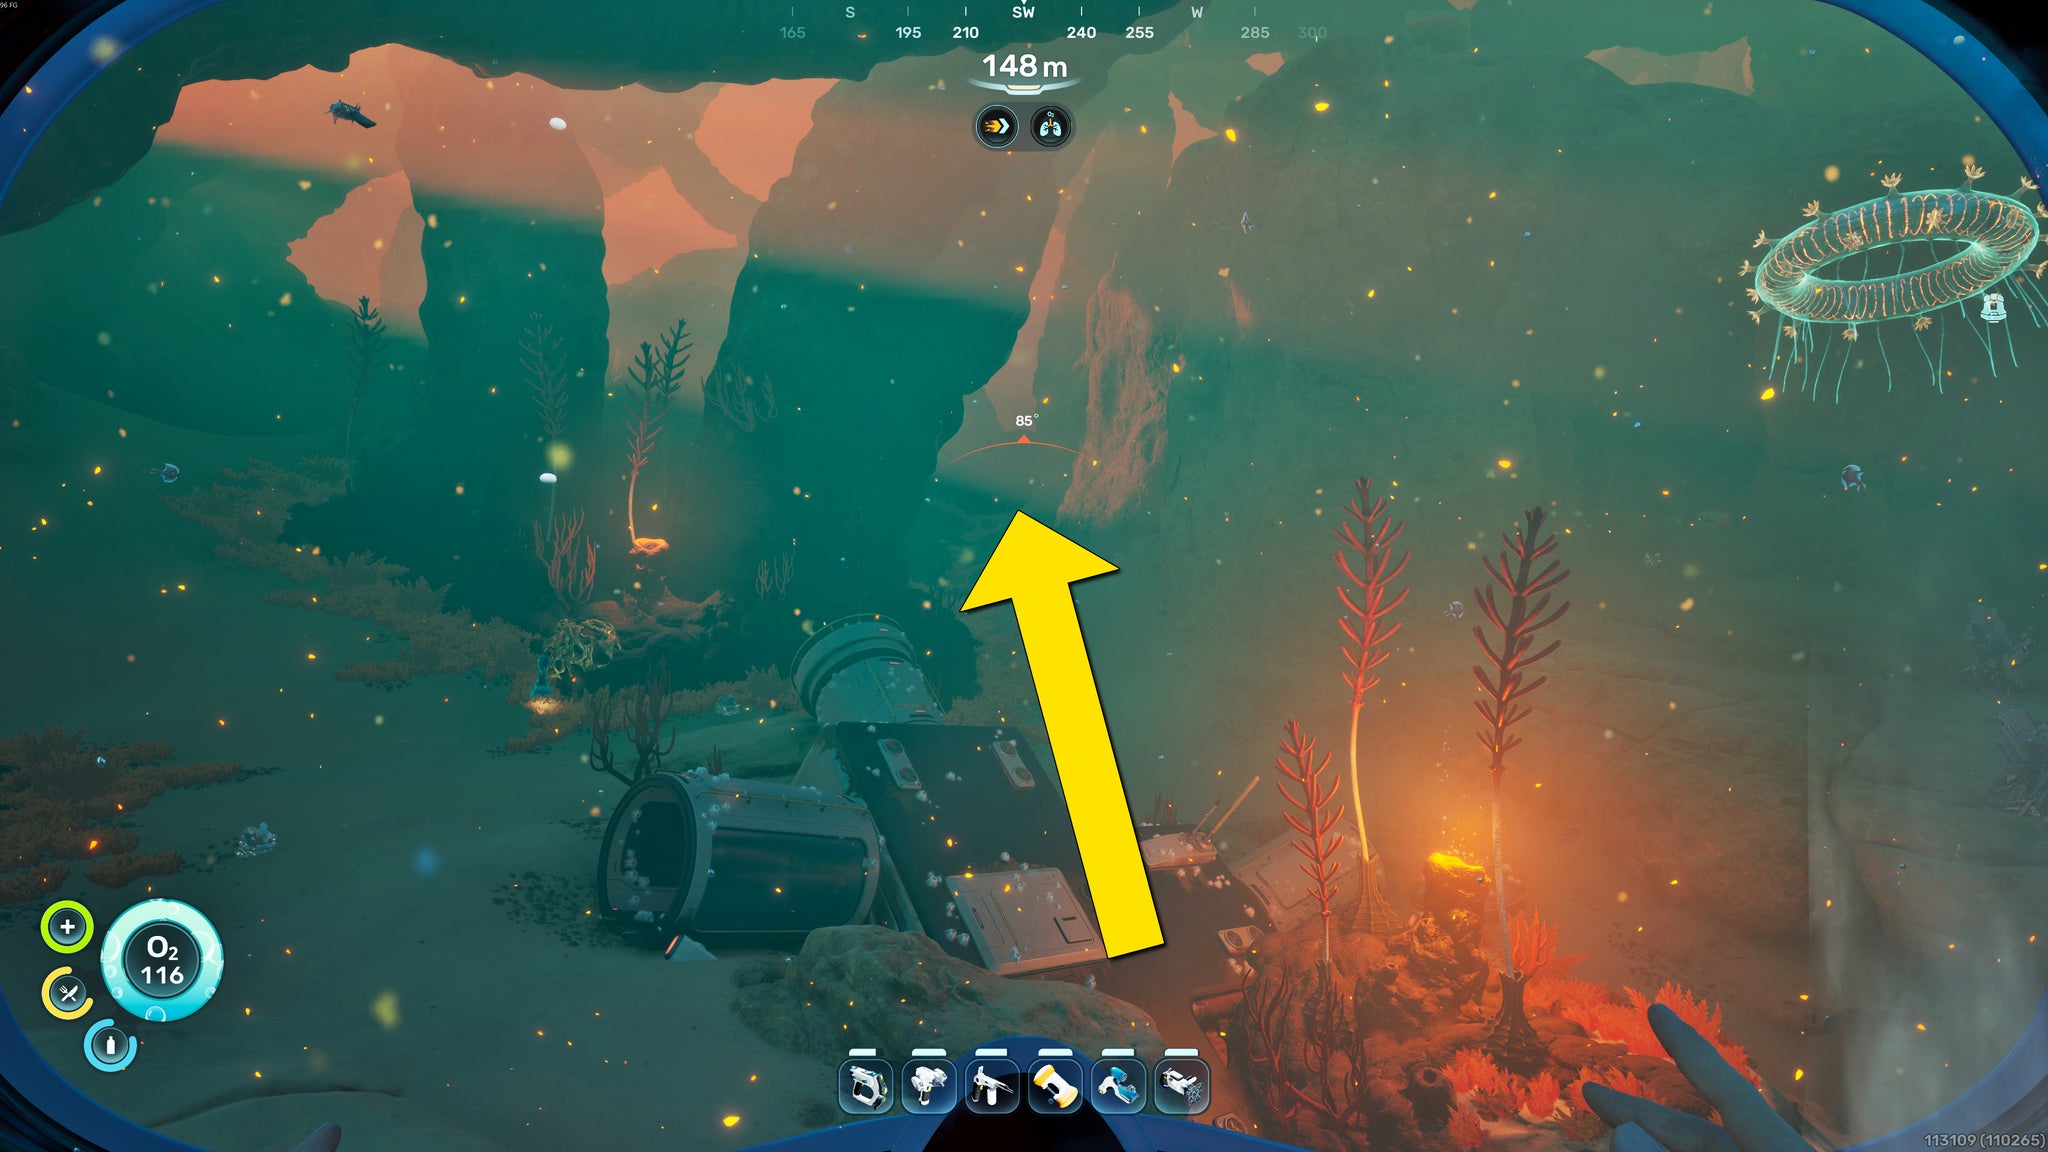
The player in Subnautica 2 starts moving from the Tadpole Pens towards a canyon to the southwest, on their way to find the Tadpole Pens keycode location. The player in Subnautica 2 starts moving from the Tadpole Pens towards a canyon to the southwest, on their way to find the Tadpole Pens keycode location.

Image credit: RPS/Unknown Worlds

The player in Subnautica 2 swims down towards four large holes in the seabed in Tailings Village, an area just above the Hot Cave. The player in Subnautica 2 swims down towards four large holes in the seabed in Tailings Village, an area just above the Hot Cave.

Image credit: RPS/Unknown Worlds

In the ground there are four large holes leading into the Hot Cave - a massive cave system below. Swim down one of these holes, and head through the entrance to your southwest into the Hot Cave itself.

Rounding the corner, you'll see the cave open up into a massive area with a giant thermal vent in the centre. Swim down to the right-hand side of the thermal vent, and you'll see a hole in the rock leading further down.

The player in Subnautica 2 swims into the interior of the Hot Cave, a massive underground area dominated by a large thermal vent at its centre. A yellow arrow points down to the right of the thermal vent, where the location of the Tadpole Pens keycode can be found. The player in Subnautica 2 swims into the interior of the Hot Cave, a massive underground area dominated by a large thermal vent at its centre. A yellow arrow points down to the right of the thermal vent, where the location of the Tadpole Pens keycode can be found.

Image credit: RPS/Unknown Worlds

The player in Subnautica 2 swims towards a hole inside the rock in front of them in the Hot Cave, where the location of the Tadpole Pens keycode can be found. The player in Subnautica 2 swims towards a hole inside the rock in front of them in the Hot Cave, where the location of the Tadpole Pens keycode can be found.

Image credit: RPS/Unknown Worlds

Swim through the hole and down as low as you can go. You'll see a massive purple Titan Rockbore root at the very bottom of the cave. On top of this root, you'll find Zip's Blackbox. Interact with the Blackbox to obtain the Tadpole Pens keycode. It's called the "Kurul Level Access Code" in your Databank, but that's exactly what you need to investigate the Tadpole Pens.
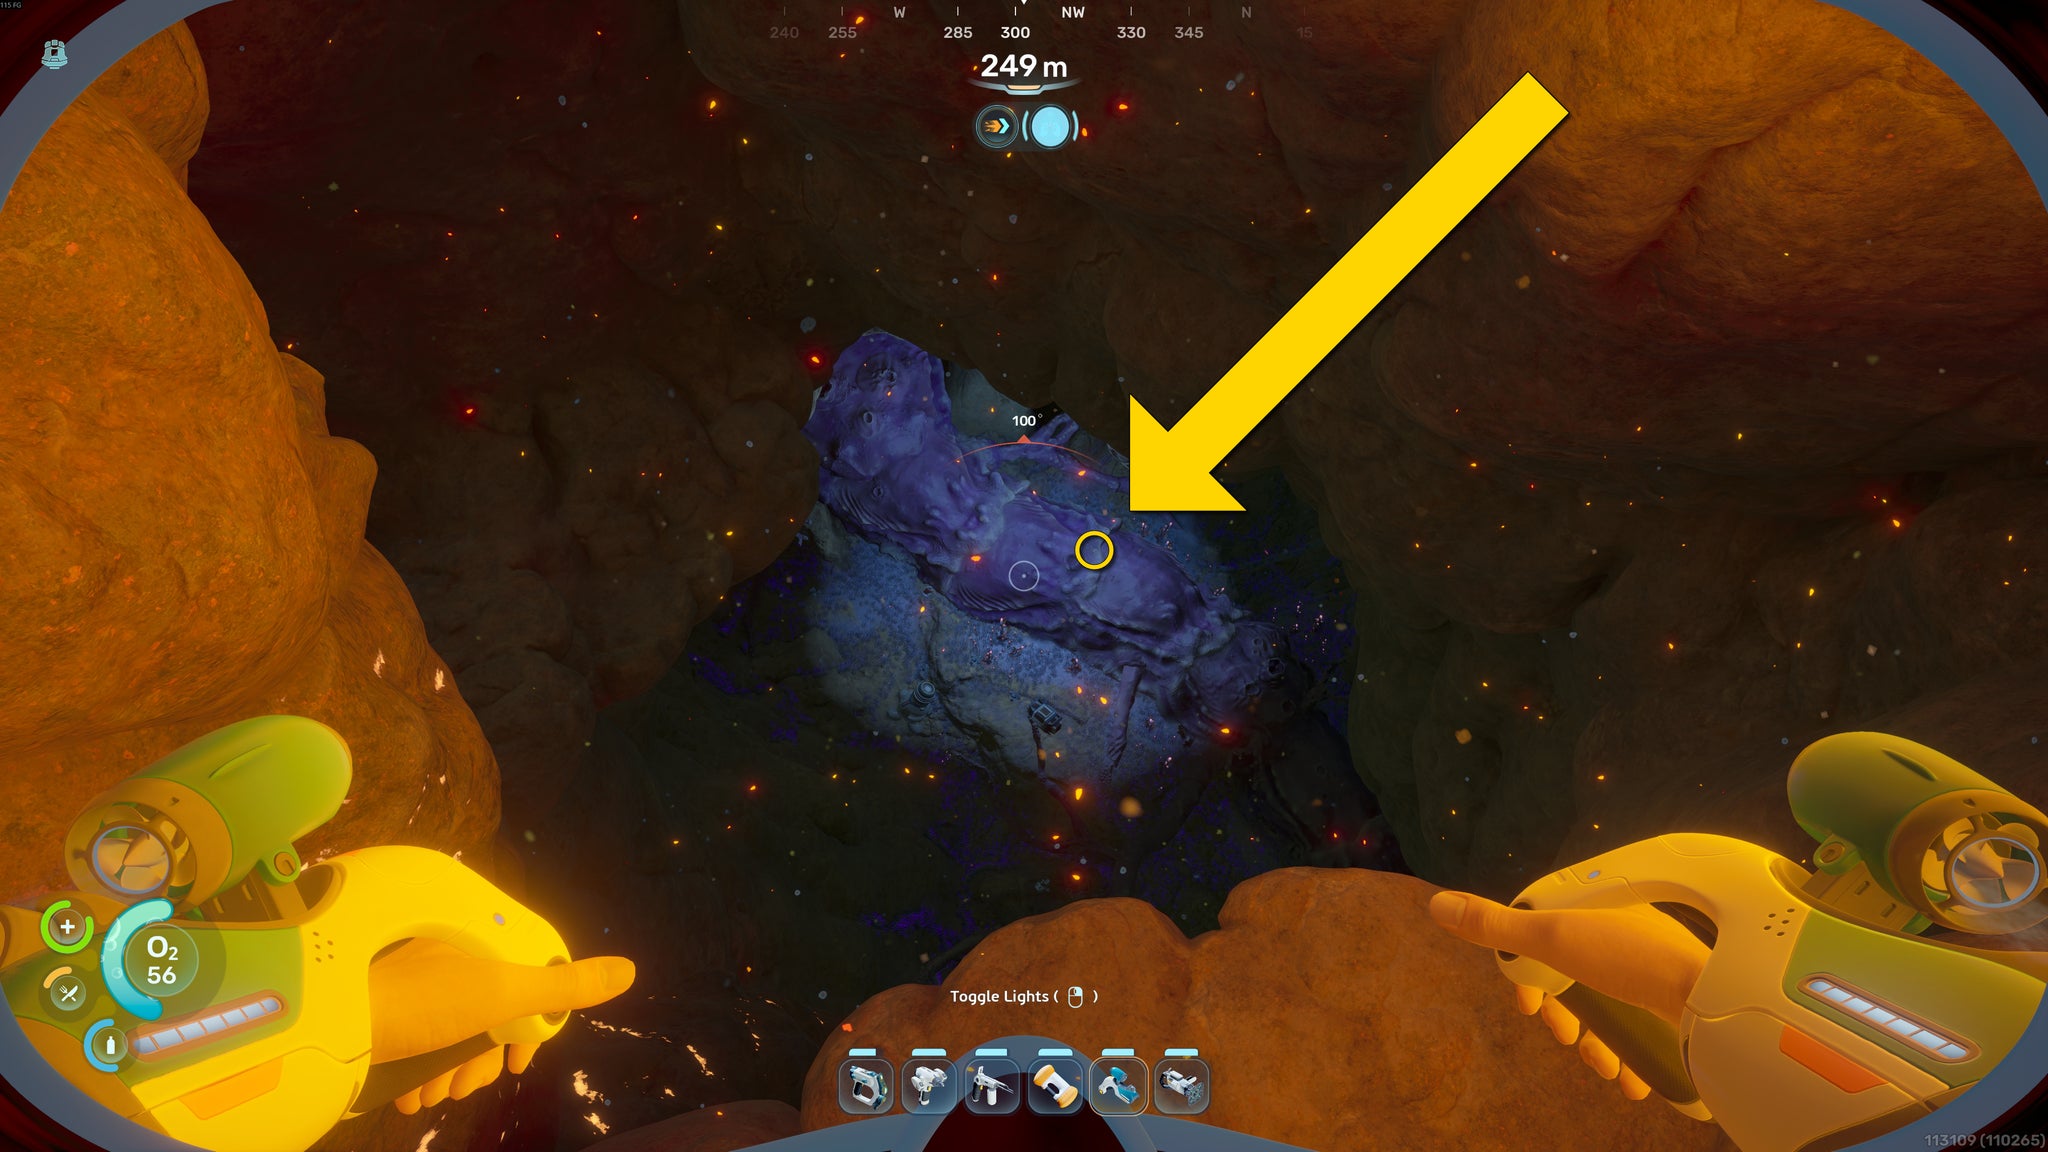
The player in Subnautica 2 swims down through the Hot Cave towards a giant purple Titan Rockbore root, where the Tadpole Pens keycode location can be found. The player in Subnautica 2 swims down through the Hot Cave towards a giant purple Titan Rockbore root, where the Tadpole Pens keycode location can be found.

Image credit: RPS/Unknown Worlds

The player in Subnautica 2 swims towards a large purple Titan Rockbore root at the bottom of the Hot Cave, where Zip's Blackbox and the Tadpole Pens keycode can be found. The player in Subnautica 2 swims towards a large purple Titan Rockbore root at the bottom of the Hot Cave, where Zip's Blackbox and the Tadpole Pens keycode can be found.

Image credit: RPS/Unknown Worlds


Opening the Tadpole Pens door

Now that you've got the keycode, retrace your steps back out of the Hot Cave and head back to the northeast to enter the Tadpole Pens once more.

Once inside, you can head to that same door to your left and press the button to initialise the scan. This time, the light will turn green, and the door will open. You can look around the room for several objects to scan (including a number of Azum Jars of various sizes). Once you're ready, head up the ladder in this room, and you'll find the NoA Terminal.

Interact with the NoA Terminal and boot it up. I won't spoil the story here, but what follows is a very interesting conversation, dripping with lore. Exhaust all the dialogue to complete the "Investigate Tadpole Pens" quest at last.

That concludes this walkthrough of the Tadpole Pens quest in Subnautica 2, and how to find that pesky missing keycode. If you're still exploring the hot biome, you should know that it's a fantastic source of both Gold and Lithium. But if you're struggling to find other resources for your base back home, check out our guides on where to find Silver and Lead while you're here!

Share:

More in Xbox, PC

Mortal Shell 2: Blackridge Cliffs walkthrough (Part 6)๐Ÿ–ฅ PlayStation, Xbox, PC

Mortal Shell 2: Blackridge Cliffs walkthrough (Part 6)

!(https://assetsio.gnwcdn.com/mortal-shell-2-naylshotting-tarred-vestige.jpg?width=690&quality=85&format=jpg&auto=webp) If you've been following along with our Mortal Shell 2(https://www.rockpapershotgun.com/games/mortal-shell-2) walkthrough up to this point, you'll already have dipped your toes into the area known as the Blackridge Cliffs. So far, all you've done here is cleanse the Blackridge Pass Beacon at the very start of the area, and then return to less challenging grounds. But now it's time to delve into this dark region and reap it for all its rewards. And those rewards are plentiful. Inside Blackridge Cliffs, you'll find a brand new weapon, your next Shell (the lovely Proxima), and a host of useful materials. On the flipside, they're all guarded by some horrifying new enemies. So let's take it a step at a time with our full 100% Blackridge Cliffs walkthrough. Read more(https://www.rockpapershotgun.com/mortal-shell-2-walkthrough-part-6-blackridge-cliffs)

RockGuides / Walkthroughs2 days ago
I'm modding GTA 5 every day until it becomes GTA 6 or breaks, starting with a new vehicle and enough missiles to level a city block๐Ÿ–ฅ PlayStation, Xbox, PC

I'm modding GTA 5 every day until it becomes GTA 6 or breaks, starting with a new vehicle and enough missiles to level a city block

Baby steps.

๐ŸŽฎ GTA๐ŸŽฎ Grand Theft Auto
PCNews3 days ago
Mortal Shell 2: Flooded Village walkthrough (Part 5)๐Ÿ–ฅ PlayStation, Xbox, PC

Mortal Shell 2: Flooded Village walkthrough (Part 5)

!(https://assetsio.gnwcdn.com/mortal-shell-2-fighting-grisha-close-up.jpg?width=690&quality=85&format=jpg&auto=webp) By this point in our Mortal Shell 2(https://www.rockpapershotgun.com/games/mortal-shell-2) walkthrough, it's about time you expanded the arsenal of sidearms at your disposal. To that end, our next stop is the Flooded Village. Unlike the very similarly named Sunken Village(https://www.rockpapershotgun.com/mortal-shell-2-walkthrough-part-4-sunken-village) you just came from, the Flooded Village is a mere optional dungeon - but it holds two things of great interest: an optional boss, and a powerful new weapon which will serve you well for the rest of the game. Follow along with the steps below in our Flooded Village walkthrough, and I'll show you how to find and open the path to the Flooded Village dungeon, and how to conquer its interior and lay claim to the prize within. Read more(https://www.rockpapershotgun.com/mortal-shell-2-walkthrough-part-5-flooded-village)

RockGuides / Walkthroughs3 days ago