Onimusha: Way of the Sword - All bosses
Overview & Key Takeaways
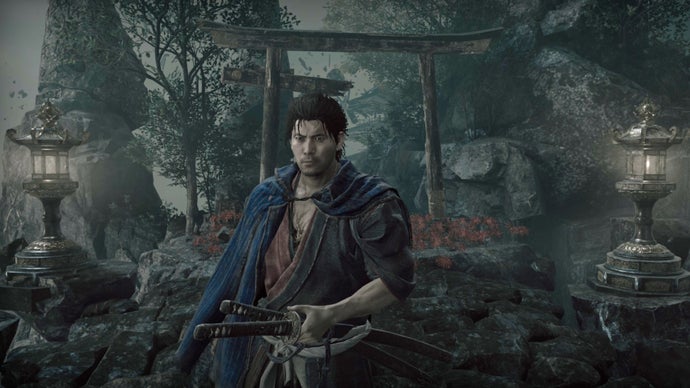
Onimusha: Way of the Sword marks the triumphant return of Capcom's samurai action franchise after a twenty-year hiatus, with all of the hallmarks that it possessed back in the PlayStation 2 days, including fast action, Issen counterattacks, and plenty of screen-filling bosses. Miyamoto Musashi will need every ounce of his wits and skill to beat these contenders, many of whom are dangerously fierce and reminiscent of Soulslike opponents, even though Way of the Sword is more of a traditional hack 'n slash action adventure game.
Way of the Sword offers two difficulty modes upon startup, including a Story Mode that will let you decimate most enemies in your path. But on Action Mode, none of these bosses are a walk in the park, and some will even be a challenge on Story Mode. To help Musashi rise supreme against all contenders, we've got you covered with our comprehensive list of all bosses in Onimusha: Way of the Sword, along with strategies for beating them.
Onimusha: Way of the Sword marks the triumphant return of Capcom's samurai action franchise after a twenty-year hiatus, with all of the hallmarks that it possessed back in the PlayStation 2 days, including fast action, Issen counterattacks, and plenty of screen-filling bosses. Miyamoto Musashi will need every ounce of his wits and skill to beat these contenders, many of whom are dangerously fierce and reminiscent of Soulslike opponents, even though Way of the Sword is more of a traditional hack 'n slash action adventure game.
Way of the Sword offers two difficulty modes upon startup, including a Story Mode that will let you decimate most enemies in your path. But on Action Mode, none of these bosses are a walk in the park, and some will even be a challenge on Story Mode. To help Musashi rise supreme against all contenders, we've got you covered with our comprehensive list of all bosses in Onimusha: Way of the Sword, along with strategies for beating them.
To see this content please enable targeting cookies.
Manage cookie settings
All bosses in Onimusha: Way of the Sword
Use the checklist below to mark off each boss as you beat them.
This list is a work-in-progress, and we'll be adding more bosses over time!
- Sasaki Ganryu
- Daidara
- Rasho-gan
- Byakue
- Ifuu
- Nue
- Byakue 2
- Nue (Blue) & Nue (Red)
- Greater Nue
- Dohatsu-ten
- Benkei
- Burai
- Sasaki Ganryu 2
- Shuten Doji
- Ifuu & Burai
- Sasaki Ganryu 3
- Dokyo
- Benkei 2
- Daidara 2
- Nue (Blue) & Nue (Red) 2
- Greater Nue 2
- Minamoto no Yoshitsune
- Minamoto no Yoshitsune 2
1. Sasaki Ganryu

Who wears a metal hat, indeed! Knock it off Ganryu's head and get ready for a classic rival duel. | Image credit: Rock Paper Shotgun/Capcom
Sasaki Ganryu's a nice wake-up call if you were previously thinking that this game was going to be all one-shot attacks against easy Genma fodder. He attacks with erratic movements and a swivelling sword thrust that's a bit hard to read, but as long as you focus on parrying you can best him. Occasionally he'll leap into the air and try to kick you, and that's when you should dodge instead.
Halfway through the battle, you'll get a tutorial on Break Issen, and Sasaki Ganryu's metal hat will fall off. He'll continue his assault with the same moves along with a grab and a jumping sword strike. Keep practising your parries, and if you're struggling with timing on this early boss, you can always turn on action prompts in the menu to see which buttons to press when.
Mark boss as defeated.
2. Daidara

Slash Daidara enough times, and he'll complain about his aching belly and all those Souls he can't eat - a hint that this battle's essentially a tutorial in absorbing lingering Souls in the area. | Image credit: Rock Paper Shotgun/Capcom
Daidara's a big guy, but the larger they are, the harder they fall. This slavering glutton attacks with a head-first charge that you can parry; once he recovers from it, he often switches into a grab that requires dodging. If you mess up, he'll put you in his huge paws, suck out all of your Souls, and then toss you into the nearest wall. His other common attacks are club swings that are very clearly telegraphed.
In between strikes, always absorb any nearby Souls with your Gauntlet, because Daidara will do so if you miss the chance, and grow stronger with a temporary boost in power.
Mark boss as defeated.
3. Rasho-gan
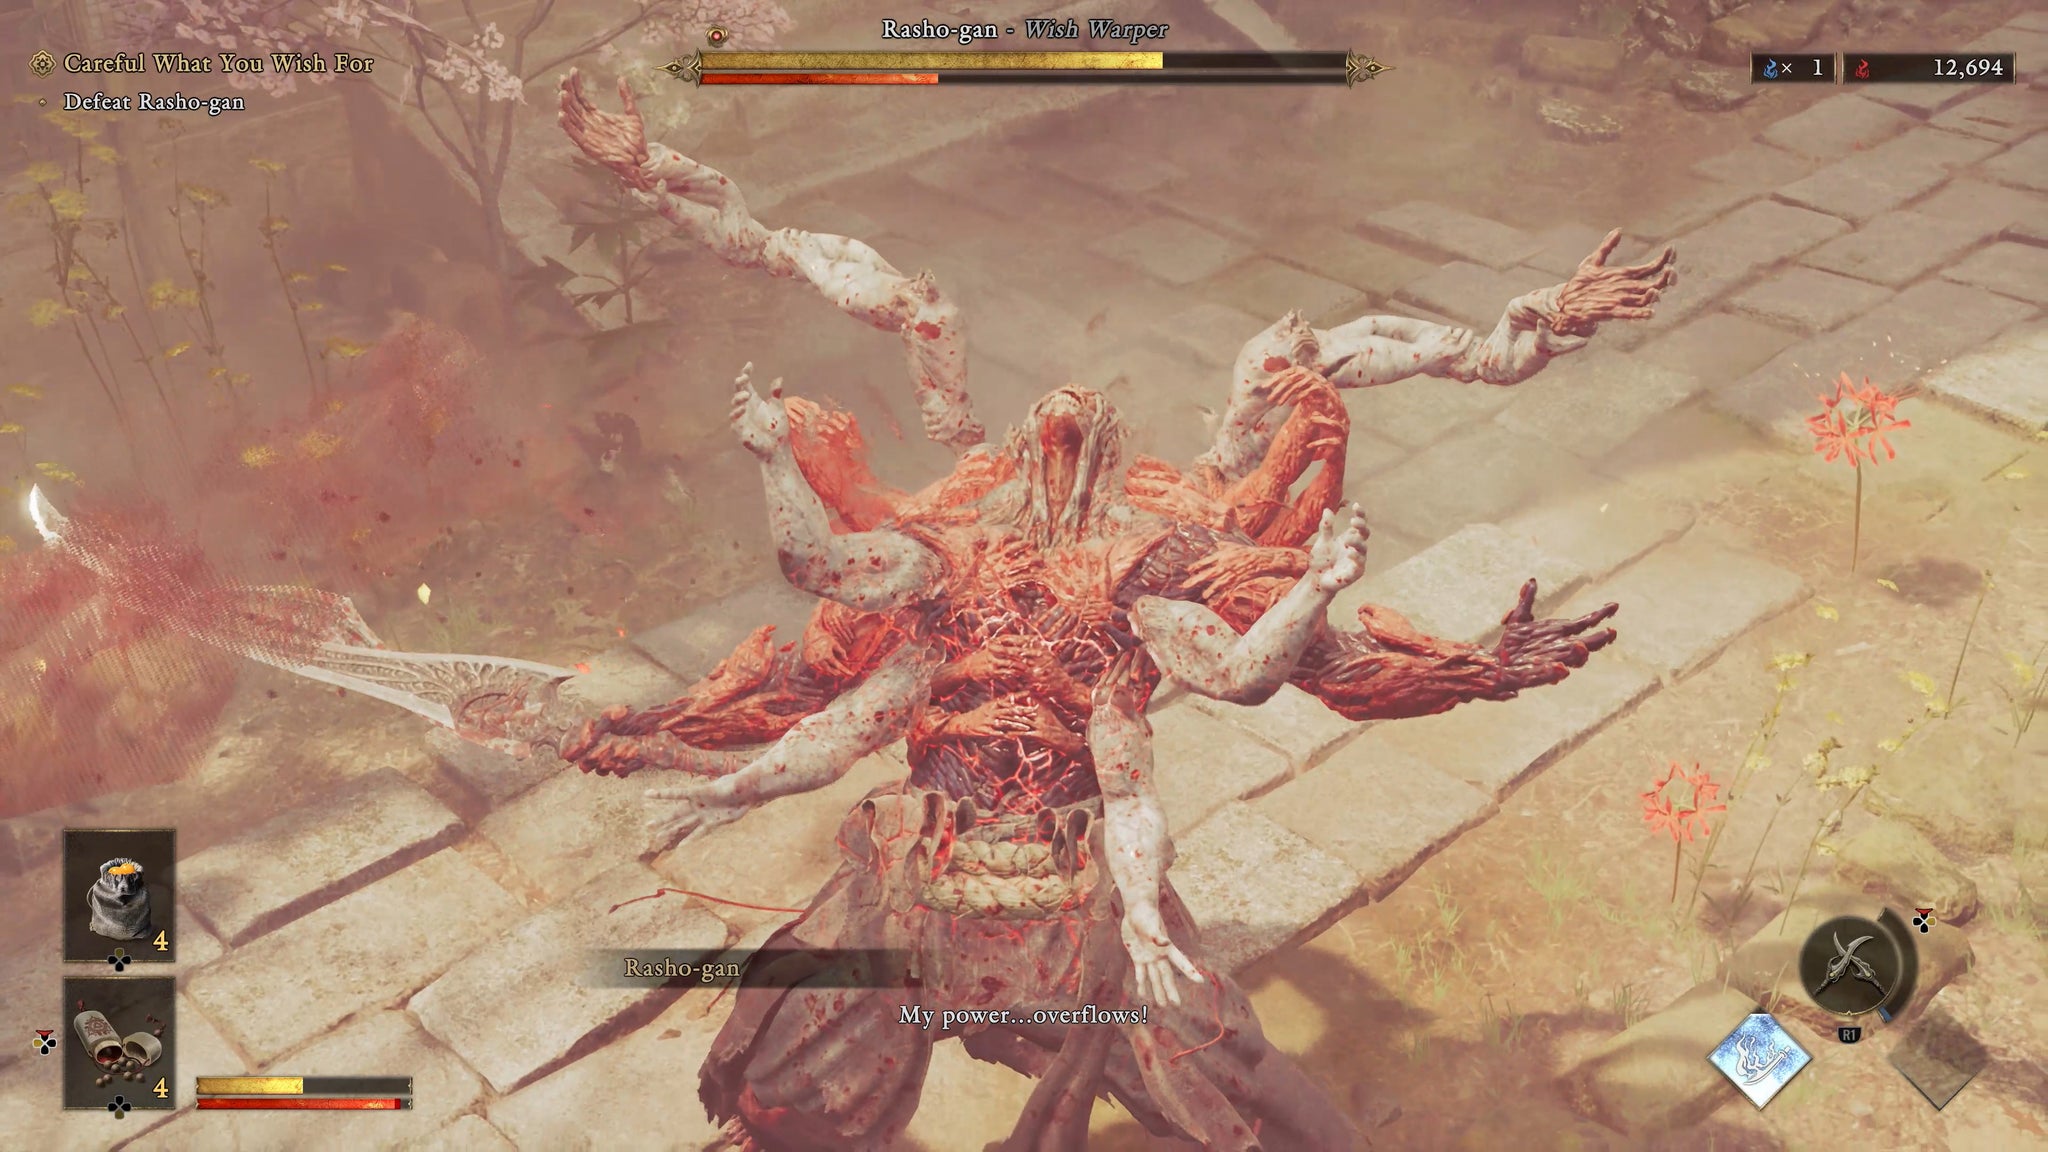
The first boss with two health bars, Rasho-gan is a tough one. | Image credit: Rock Paper Shotgun/Capcom
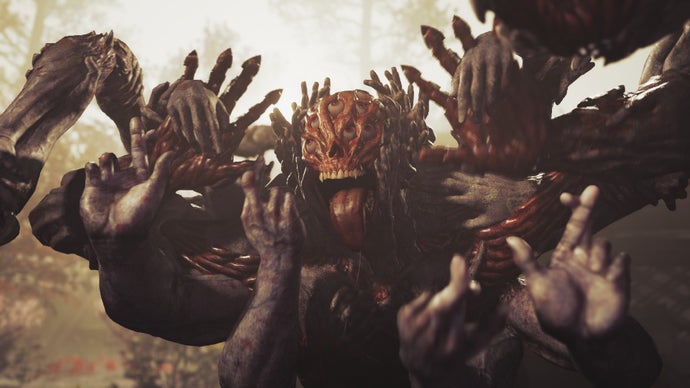
Probably the first real wall for many players, Rasho-gan is a multi-armed bastard who may require several tries. You can parry almost all of his attacks, including the projectiles that he tosses at you, so the wisest strategy here is to stand your ground and focus on deflections. He also starts the fight with a red tendril granting him a buff; to level the playing field, be sure to sever the thing ASAP.
Once you've depleted his first health bar, Rasho-gan will power up into his second phase. Here, he can unfurl three or so tendrils above his head, each attached to trees, rubble, and other pieces of the environment. Shoot at each tendril with your bow to snap it and send the junk falling down on his head, after which you should jump in and get off a few strikes. If you're too slow with your bow shots, then your best bet is to dodge around the arena before circling back to continue fighting Rasho-gan.
Rasho-gan will also occasionally spin like a top and launch himself towards you - this is always a two-pronged attack, so parry his first spin and get ready to parry again as he comes back at you from behind.
Mark boss as defeated.
4. Byakue

Compared to Rasho-gan, Byakue's much more manageable, though don't get cocky - that axe can still knock you down to size. | Image credit: Rock Paper Shotgun/Capcom
Another big guy, Byakue's attacks are at least well telegraphed. He'll pounce and jump towards you like a feral cat, and you'll need to dodge to avoid these moves. He also has a few axe tactics that take some effort to read, as he always spins, flips, or flourishes, and then follows up with a hard-hitting axe swing. The trick in fighting Byakue is to wait until the spins and other fancy moves are finished before you parry. Focus on breaking his posture and open him up for those critical hits, and the damage will be massive.
Mark boss as defeated.
5. Ifuu

I do like how Ifuu's design is reminiscent of the classic Japanese "yankii" delinquent - check out the pompadour hair. | Image credit: Rock Paper Shotgun/Capcom
Ifuu's got two phases, but his wind attacks remain a constant throughout both. You can parry the wind gusts that erupt from him when he shakes his head to and fro, but be aware that when he raises his axe with both hands from a distance, he's not actually about to hit you - he's instead shooting a wave of air towards you. His close-up melee swings are more obvious to read, and a bit reminiscent of Daidara's.
Occasionally, Ifuu will scream "You're dead", and the wind tubes on his head and back will turn pink. He then charges at you with two axe swings, and all of his other attacks will become more aggressive. Dodge his grab here to knock him over onto his back, giving you time to unleash a flurry of strikes.
When his first health bar's depleted, Ifuu starts to inflate his wind tubes and will occasionally fly into the air. Shoot him with an arrow to knock him down to the ground and avoid a tornado. Once again, take care to absorb all Souls in the area with your Gauntlet, especially in this second phase, to keep him from getting stronger.
Mark boss as defeated.
More bosses will be added soon!
6. Nue

The Nue is a cool and fearsome chimera design - it's just a bit annoying that you end up fighting it over and over. | Image credit: Rock Paper Shotgun/Capcom
You'll face the chimera known as Nue several times over the course of Way of the Sword, and this first encounter is the easiest. Nue attacks with a tail strike that's well-telegraphed, and occasionally it'll shove you with its front, utilise a paw swipe, or torpedo in mid-air towards you.
Don't bother with parries here, except for the lightning projectiles that Nue shoots from its tail. Focus on dodges instead, and aim your attacks towards the chimera's tail. Whenever Nue's tail gets stuck in the ground, you'll also have a brief opportunity to use your Oni Strength to knock the beast off balance.
Mark boss as defeated.
7. Byakue 2

Toss the exploding barrels at Byakue to get an advantage at the start of this fight, but don't let yourself get cornered. | Image credit: Rock Paper Shotgun/Capcom
Byakue returns for round two. This time, you're facing him in a room of the Underground Laboratory, and probably contending with a host of other Genma as well. Luckily, Byakue stays still in a small alcove and doesn't move until you challenge him, so dispatch the surrounding jobbers first. There are some exploding barrels near his alcove that you can pick up and toss to start the combat with an explosive surprise. Other than that, Byakue's moves are pretty much the same as before.
Mark boss as defeated.
8. Nue (Blue) & Nue (Red) 2

Nue now comes in red and blue variants, just like Pokémon! | Image credit: Rock Paper Shotgun/Capcom
This time, you're facing two Nue at once, which is a dangerous state to be in. Still, the strategies you used before still work well here - dodge most of the time, parry the lightning projectiles from each Nue's tail, and avoid these shifty chimeras when they torpedo themselves towards you.
At the start of the fight, the Nue are kind enough to attack you one at a time, but as the combat continues you may find that their attacks become more synchronised, requiring extra precision if they blast you with lightning or both torpedo at the same time. Focus your energies on a single Nue if you can, as the fight becomes a lot easier when you've only got one chimera to deal with.
Mark boss as defeated.
9. Greater Nue

The Nue's ultimate evolution. Once again, Pokémon is so relevant here. | Image credit: Rock Paper Shotgun/Capcom
Greater Nue's moves are similar to its smaller counterparts, but as you might expect, hit much harder. Unlike its little cousins, though, you can and should parry the heck out of this thing. The beast usually starts the battle off with a tail swipe, and it'll occasionally leap into the air, let out a hideous shriek, and pounce down onto the ground, which this is the perfect time to pull off an Issen, if you can.
Stay close, parry the paw strikes, and watch out for its head slam when it rears up on its hind legs. Other than that, follow the tactics that you've used in the previous Nue fights. After unleashing enough damage, you can potentially chop off the Greater Nue's tail and toss it back at the chimera. This is temporary, but looks terribly cool - just be careful not to take damage as you grab for the tail and throw it.
Alas, this fight has two phases. In the second half, the Greater Nue continues with the same barrage but resorts to lightning attacks, and lightning patches will appear across the area. Keep an eye out for them as you fight, and also be careful when the Greater Nue imbues its front legs with electricity; it'll attack by dragging one leg across the ground before trying to slam it into you. Parry away!
Mark boss as defeated.
More boss strategies will come soon!
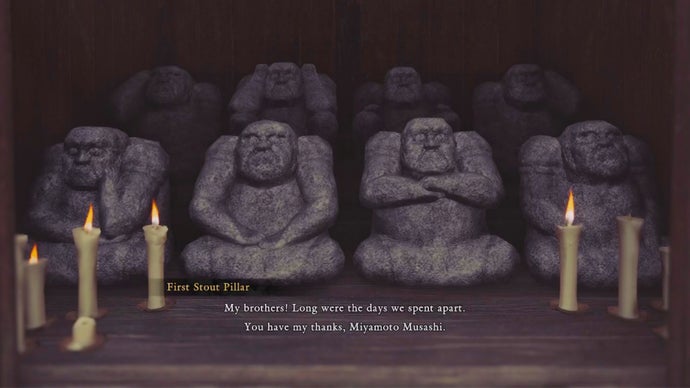
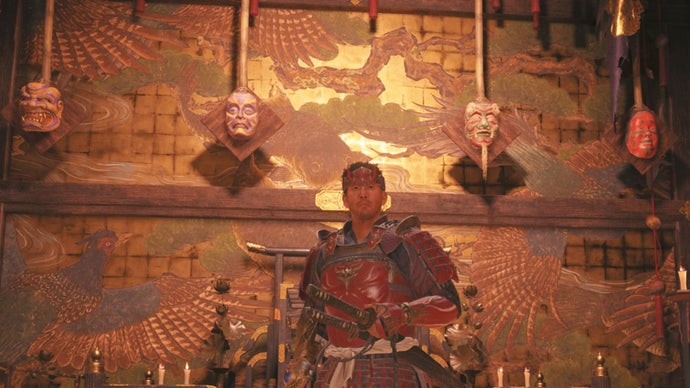
That concludes our guide on all bosses in Onimusha: Way of the Sword. For more info on helping Miyamoto Musashi survive all of the dangers that await him in Kyoto and the Oni Realm, check out our combat guides on how to parry and deflect and how to Issen. If the game's puzzles have you stumped, refer to our guides on how to find all three Stout Pillars and how to solve the mask puzzle in the Underground Laboratory.